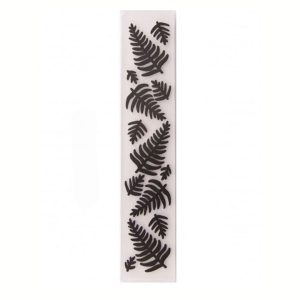
Here are some steps to follow to use embossing folders effectively:
- Choose your paper: Select the paper you want to emboss. Heavier weight papers tend to hold the embossed design better than lighter weight papers.
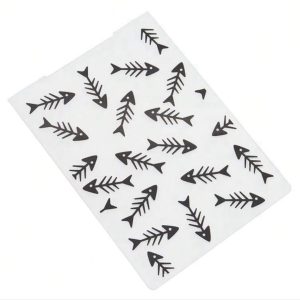
- Choose your embossing folder: Embossing folders come in a variety of designs, so choose one that complements your project. Make sure that your embossing machine can accommodate the size of your embossing folder.
- Prepare the embossing folder: Place the paper inside the embossing folder, making sure it is centered and straight. You may need to trim the paper to fit the size of the folder. Dampening the cardstock with a light spritz of water before embossing will soften the paper fibres and prevent the cardstock from cracking.
- Run the folder through a die-cutting machine: Sandwich the folder with the paper inside, between two cutting plates and run it through the machine. The pressure from the machine will press the design of the folder onto the paper.
- Remove the paper: Once you have run the folder through the die-cutting machine, remove the paper from the folder.
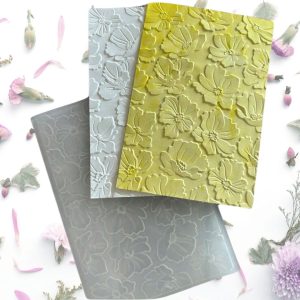
- Use the embossed paper: Use the embossed paper in your project. You can leave it as is or add some color with ink or paint to enhance the design.
Embossing folders can add a lot of dimension to your paper crafts and are a fun way to experiment with different textures and designs.
