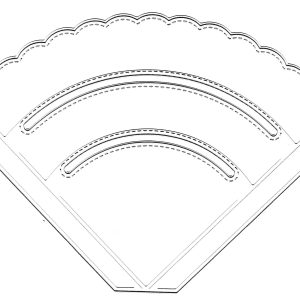
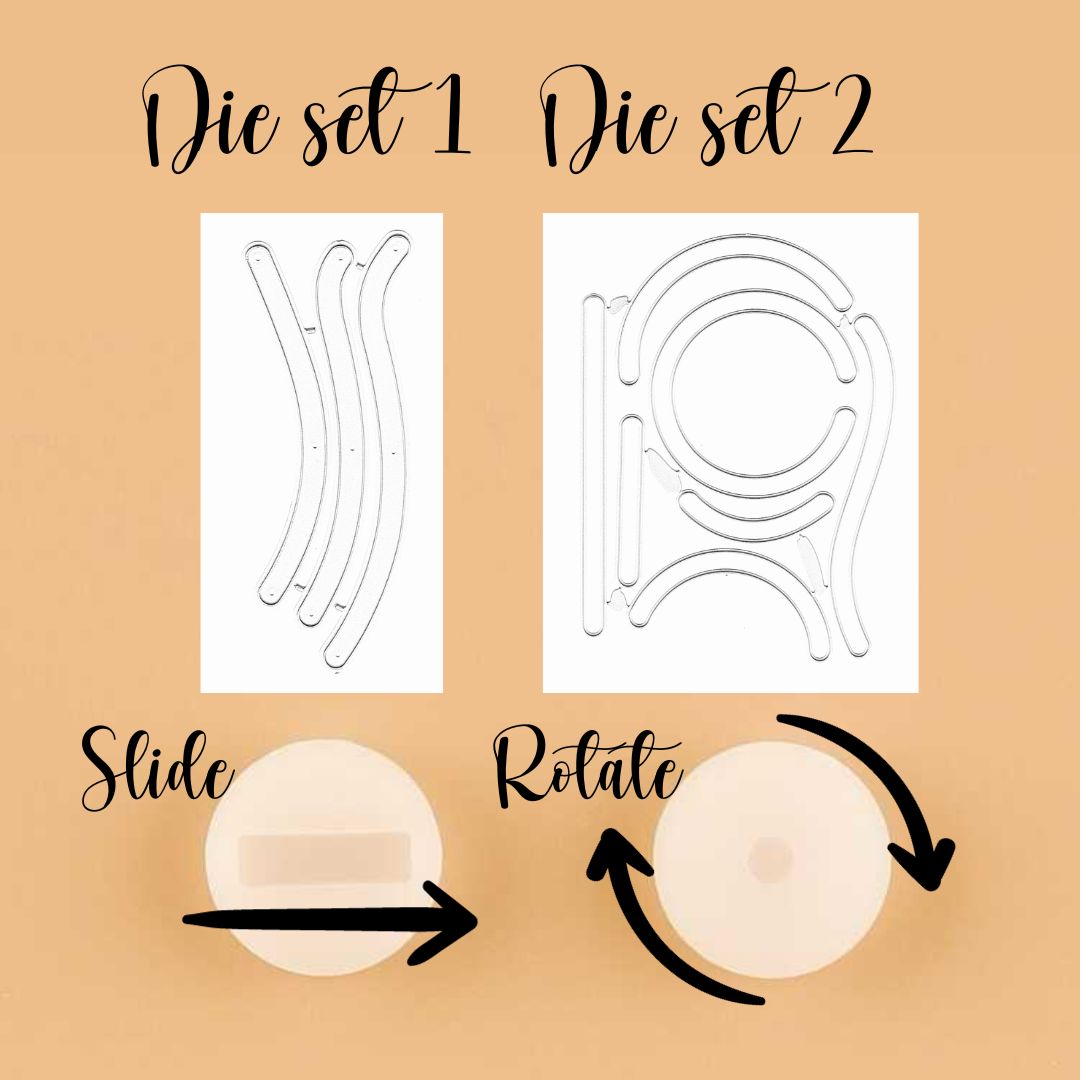

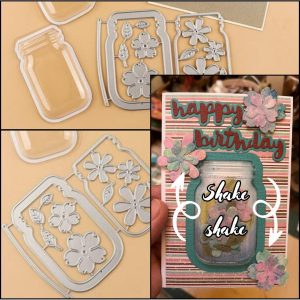

Creating slider cards involves incorporating a sliding mechanism that allows an element of the card to move, revealing hidden messages, images, or designs. Here’s a basic guide on how to make a simple slider card:
Materials:
- Cardstock or pre-made blank card
- Patterned paper or decorative cardstock
- Double-sided tape or adhesive
- Paper trimmer or scissors
- Ruler
- Pencil
- Craft knife or utility knife
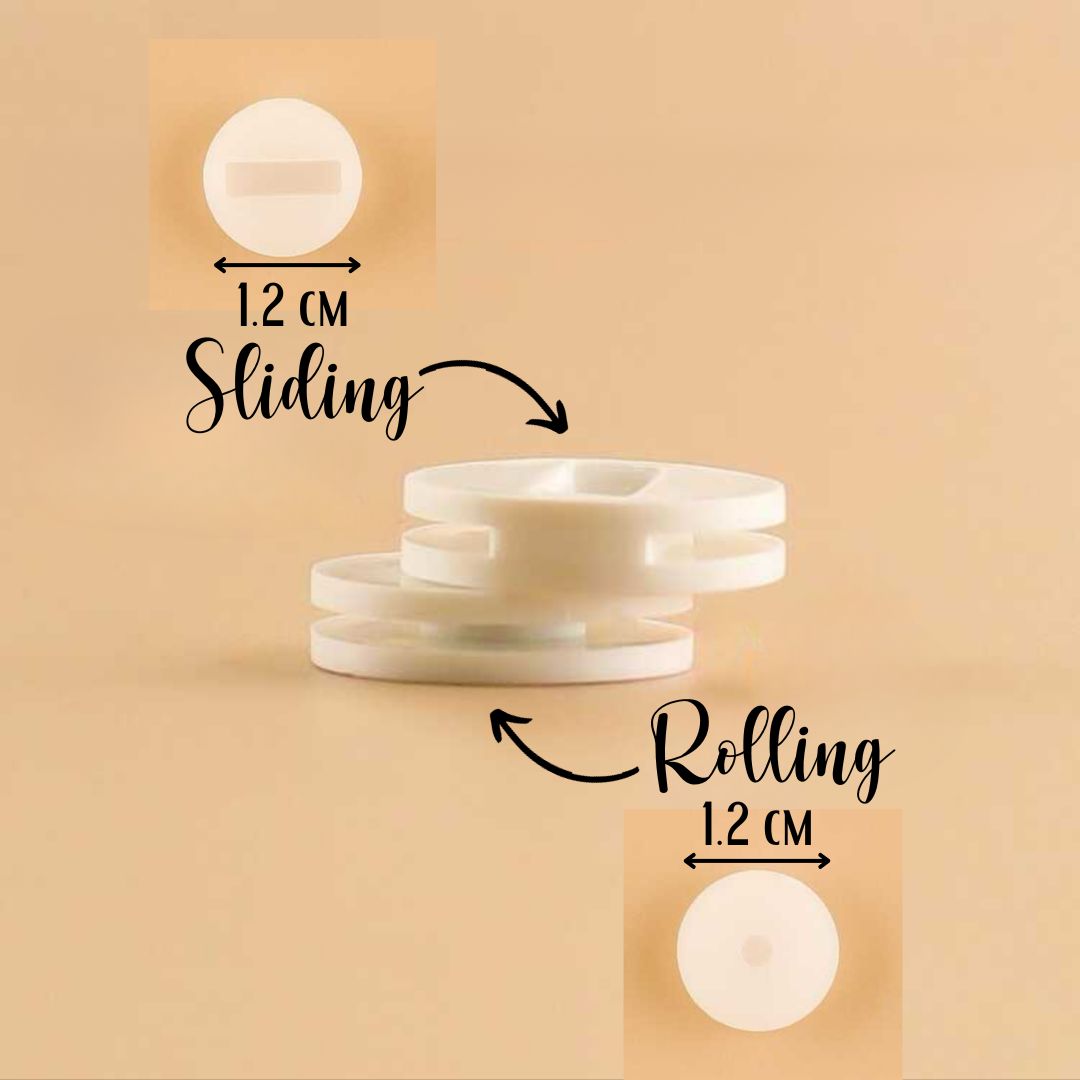
- Slider mechanism (such as a small piece of cardstock or foam)
- Decorative elements (stickers, stamps, embellishments)
Instructions:
- Prepare the Base:
- Start with a blank card or cut a piece of cardstock to your desired card size.
- If using a single piece of cardstock, fold it in half to create the card.
- Cut the Slider Element:
- Cut a piece of patterned paper or decorative cardstock slightly smaller than the front of your card. This will be the top layer.
- Cut another piece of cardstock (preferably a contrasting color) for the slider element. This piece should be smaller than the top layer but large enough to hold your hidden message or image.
- Create the Slit for the Slider:
- On the top layer, measure and mark the area where you want the slider to be. This is usually along the top or side of the card.
- Cut a straight slit or track using a craft knife or utility knife. The length of the slit should be slightly longer than the slider element.
- Prepare the Slider:
- Cut a small piece of cardstock or foam to serve as the slider. Ensure it fits comfortably within the slit without getting stuck.
- Attach your hidden message or image to the slider.
- Attach the Slider:
- Apply double-sided tape or adhesive to the back of the slider element, avoiding the area that will be sliding into the slit.
- Attach the slider element to the card base, ensuring it lines up with the slit.
- Decorate the Card:
- Add any additional decorative elements to the card, such as stickers, stamps, or embellishments.
- Test the Slider:
- Slide the hidden element back and forth to ensure it moves smoothly within the slit.
- Complete the Card:
- Secure the slider element in place with additional adhesive, ensuring it stays in the desired position when not in use.
- Allow any adhesive to dry completely before handling the card.
Experiment with different designs, colors, and embellishments to customize your slider card for various occasions. With practice, you can create more intricate slider mechanisms and incorporate creative elements into your designs.