Decoupage glue is a specialized adhesive used in decoupage projects, which involves layering paper cutouts or images onto surfaces such as wood, glass, or ceramic.
Here are some reasons why you may want to use decoupage glue for your projects:
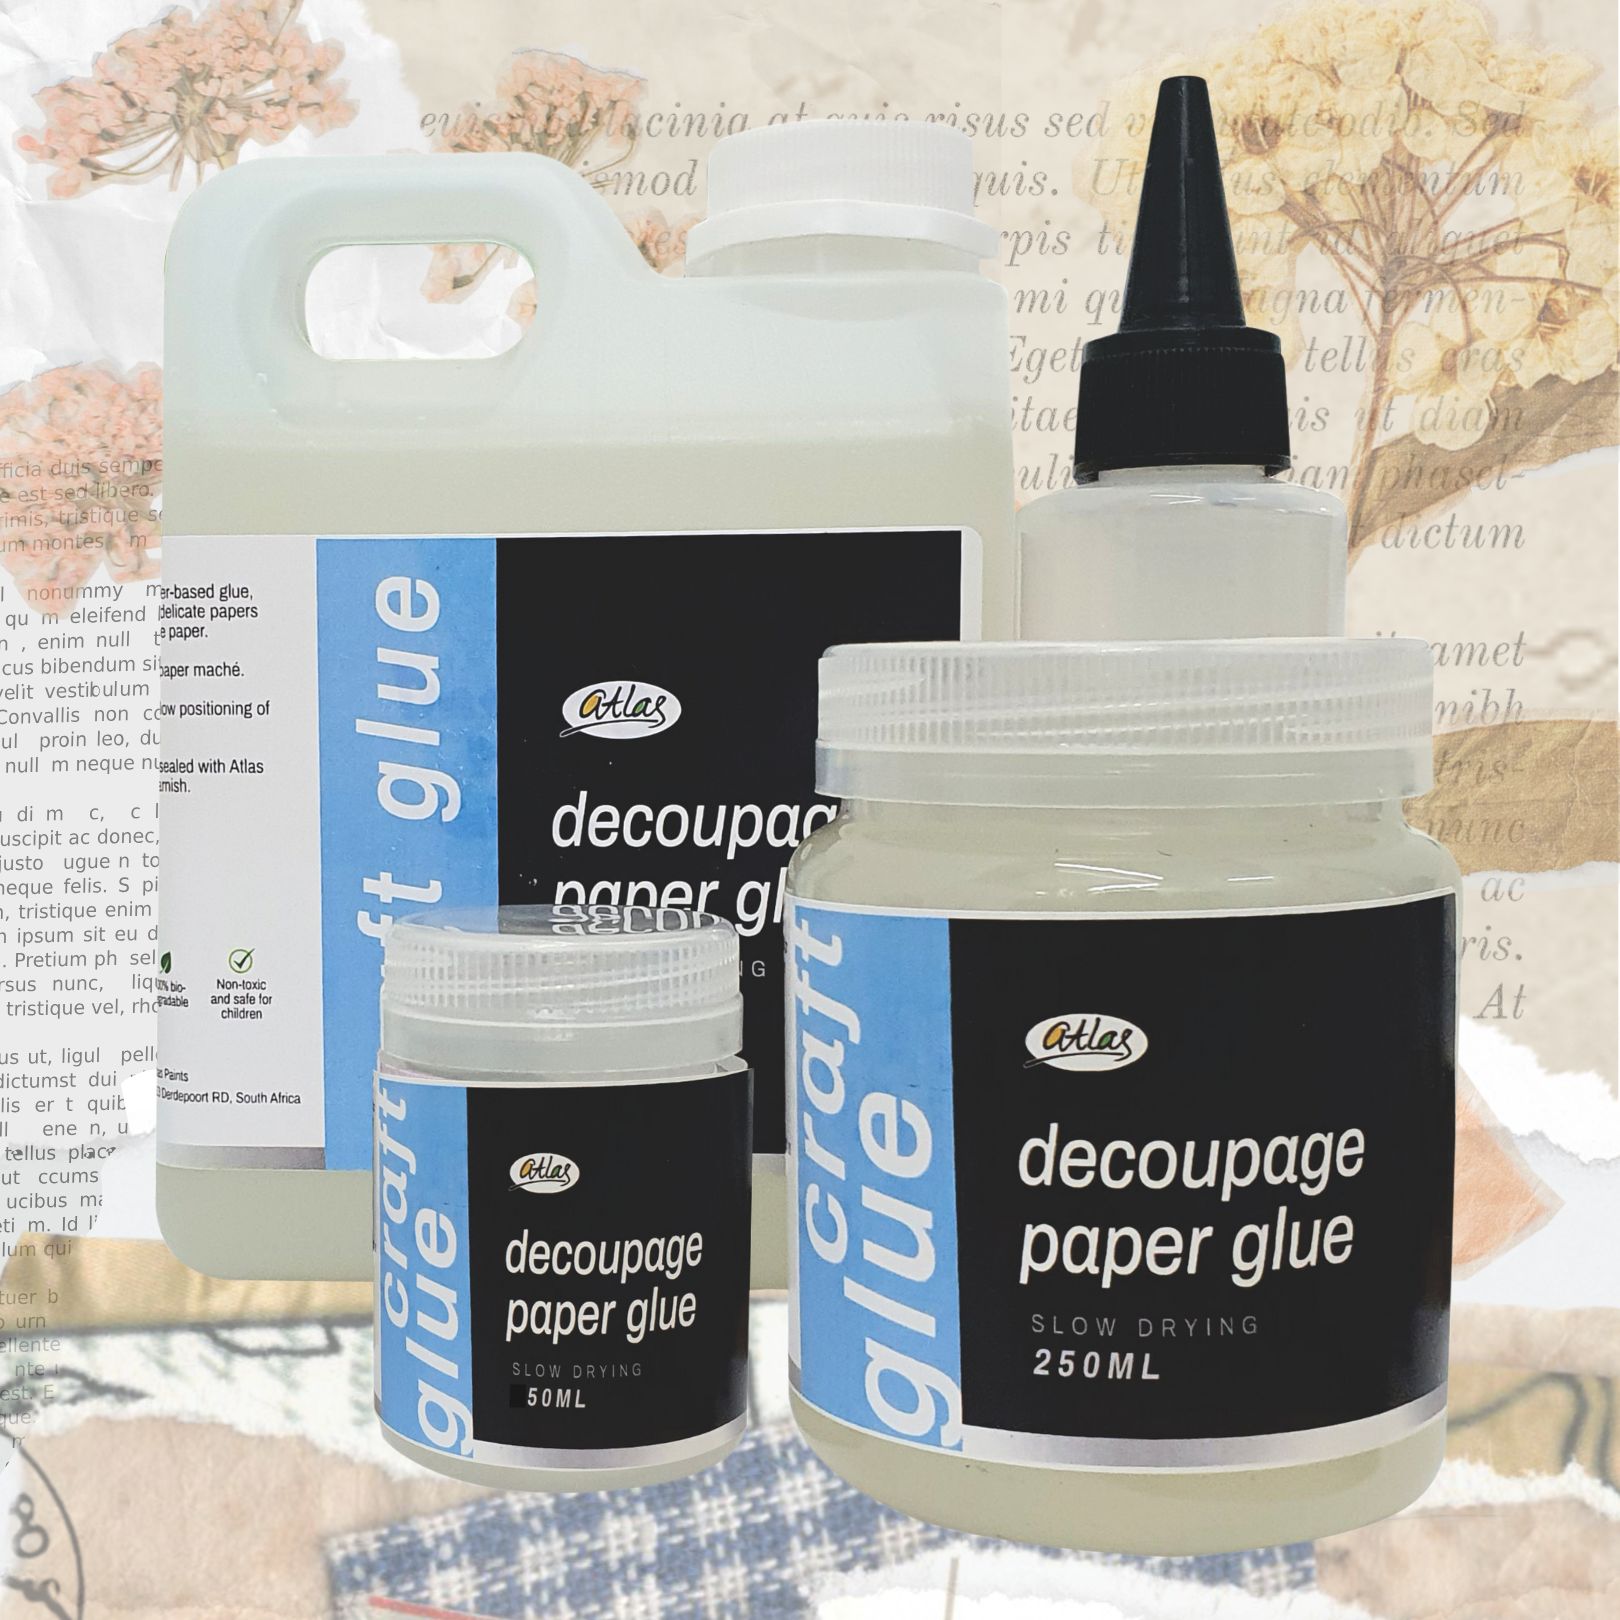
- Specifically Designed for Decoupage: It is formulated specifically for decoupage projects, which means it is designed to work with a variety of surfaces and paper materials.
- Dries Clear: It dries clear, which means it won’t interfere with the appearance of your paper cutouts or images. This is especially important if you are working with delicate or intricate designs.
- Non-Toxic: Many are non-toxic, which makes them safe for use in children’s crafting projects.
- Strong Bond: It a strong bond between the paper cutouts and the surface they are applied to, which means your decoupage project will be durable and long-lasting.
- Easy to Use: It is easy to use and can be applied with a brush or sponge. It dries relatively quickly and can be cleaned up easily with soap and water.
- Versatile: It can be used on a variety of surfaces, including wood, glass, ceramic, and more.
Overall, decoupage glue is an excellent choice for decoupage projects. It provides a strong bond, dries clear, and is easy to use. Whether you’re creating a decorative tray, a picture frame, or a piece of wall art, decoupage glue can help you achieve a beautiful and professional-looking finished product.
Here are some general steps on how to use decoupage glue for your projects:
- Gather Materials: Gather all the materials you will need for your decoupage project, including your surface, paper cutouts or images, and decoupage glue.
- Prepare the Surface: Clean and dry the surface you will be applying the paper cutouts to. If needed, you can sand the surface lightly to create a better bond.
- Apply the Glue: Use a brush or sponge to apply a thin, even layer of decoupage glue to the surface. You can also apply glue directly to the back of your paper cutout or image.
- Place the Paper: Carefully place the paper cutout or image onto the surface, smoothing out any wrinkles or bubbles with your fingers or a brayer.
- Apply More Glue: Once the paper is in place, apply another thin layer of decoupage glue over the top of the paper. Be sure to cover the entire surface of the paper to prevent any edges from lifting.
- Repeat: Continue adding paper cutouts or images in this manner, overlapping the edges slightly as needed. Make sure to apply a layer of decoupage glue over each layer of paper.
- Let it Dry: Allow the decoupage project to dry completely before handling or moving it. Drying time can vary depending on the type of decoupage glue used and the number of layers applied.
- Seal: Once the project is dry, you may want to seal it with another layer of decoupage glue or a clear varnish to protect it and give it a glossy finish.
Remember to follow the manufacturer’s instructions when using decoupage glue. Different brands may have different instructions or application techniques, so be sure to read the label carefully before using it. With practice, you can create beautiful and unique decoupage projects using this type of glue.