
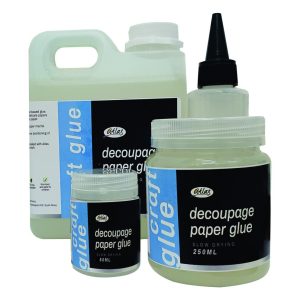
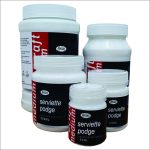
Serviette Podge is an excellent choice for napkin decoupage projects. It provides a strong bond, dries clear, and is easy to use. Whether you’re creating a decorative tray, a picture frame, or a piece of wall art, Serviette Podge can help you achieve a beautiful and professional-looking finished product.
Napkin decoupage is a popular crafting technique that involves layering decorative napkins onto a surface, such as wood, glass, or ceramic, and sealing them with a special glue. Here are some reasons why you may want to use Napkin Podge for your napkin decoupage projects:
- Specifically Designed for Napkin Decoupage: Napkin Podge is formulated specifically for napkin decoupage projects, which means it is designed to work with a variety of napkin materials and surfaces.
- Dries Clear: Napkin Podge dries clear, which means it won’t interfere with the appearance of your decorative napkins. This is especially important if you are working with delicate or intricate designs.
- Non-Toxic: Many Napkin Podge products are non-toxic, which makes them safe for use in children’s crafting projects.
- Strong Bond: Napkin Podge creates a strong bond between the napkins and the surface they are applied to, which means your napkin decoupage project will be durable and long-lasting.
- Easy to Use: Napkin Podge is easy to use and can be applied with a brush or sponge. It dries relatively quickly and can be cleaned up easily with soap and water.
- Versatile: Napkin Podge can be used on a variety of surfaces, including wood, glass, ceramic, and more.