


Creating your own custom journal can be a fun and creative project. Here are the steps to make your own custom journal:
Materials You’ll Need:
- Blank Paper: You can use a stack of blank or lined paper, or buy a journal insert that fits the size you want.
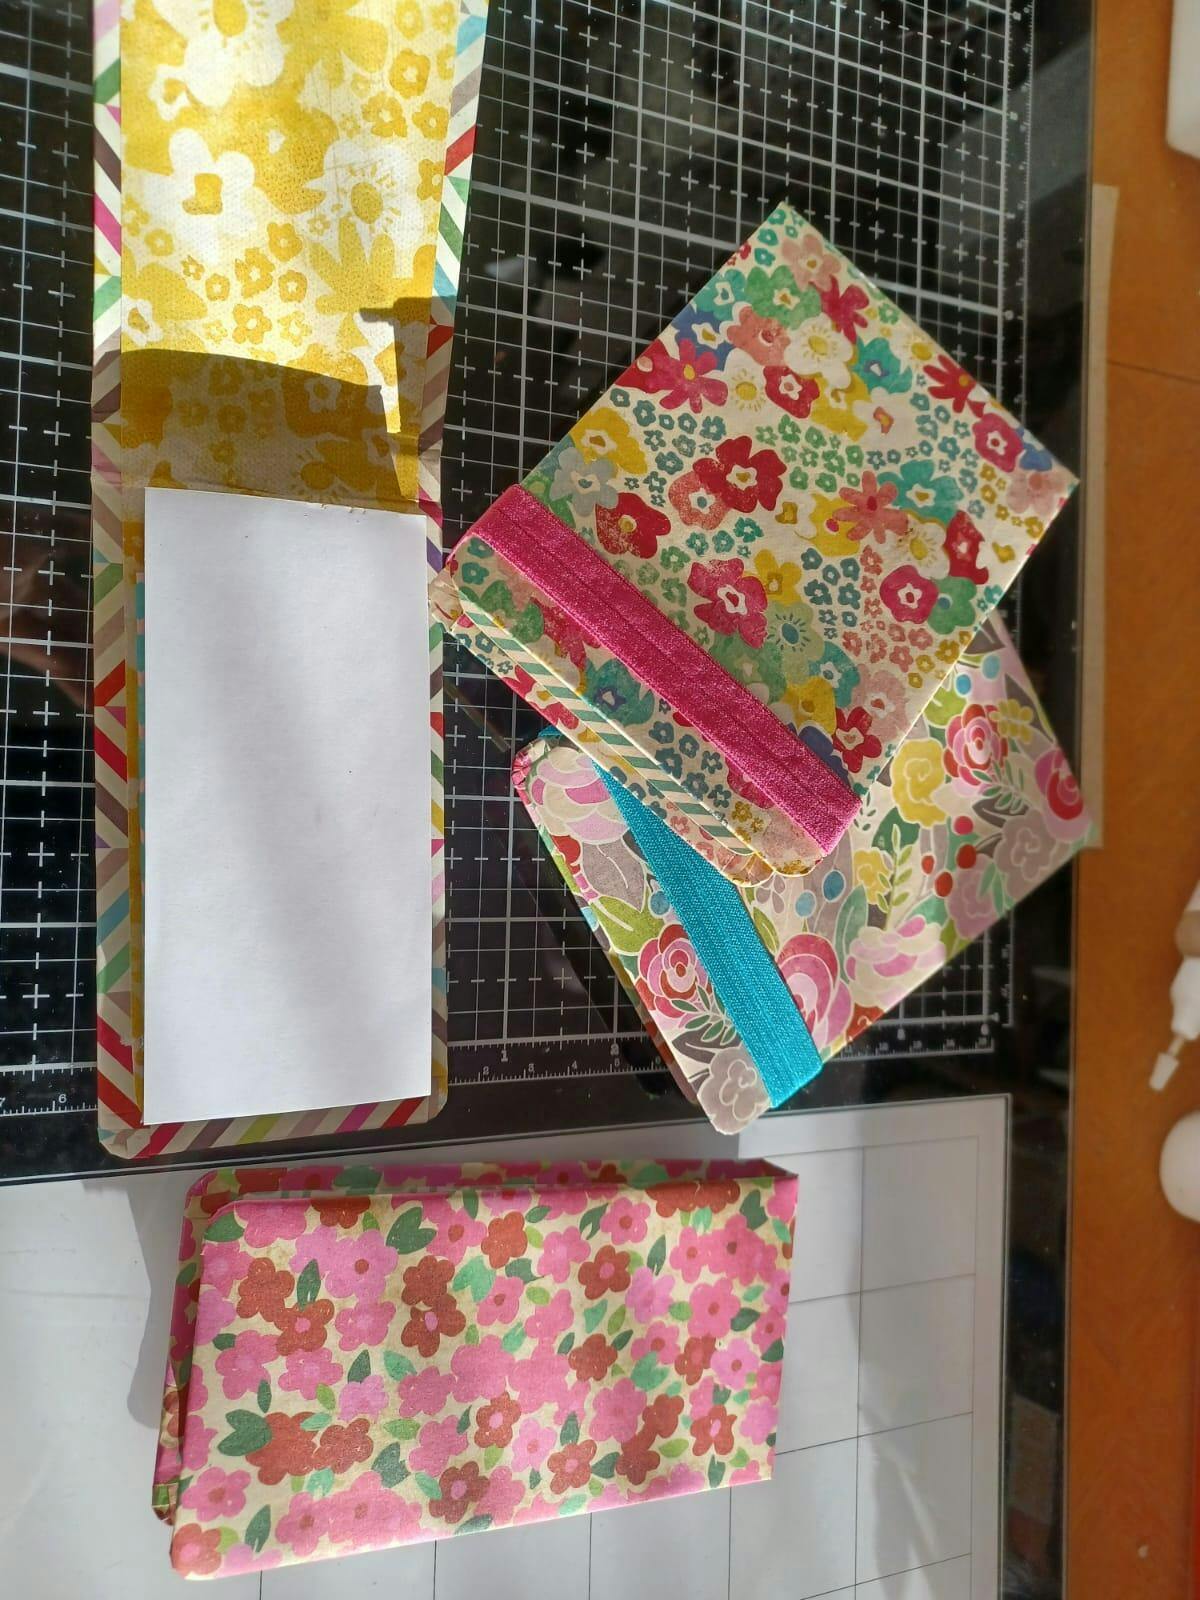
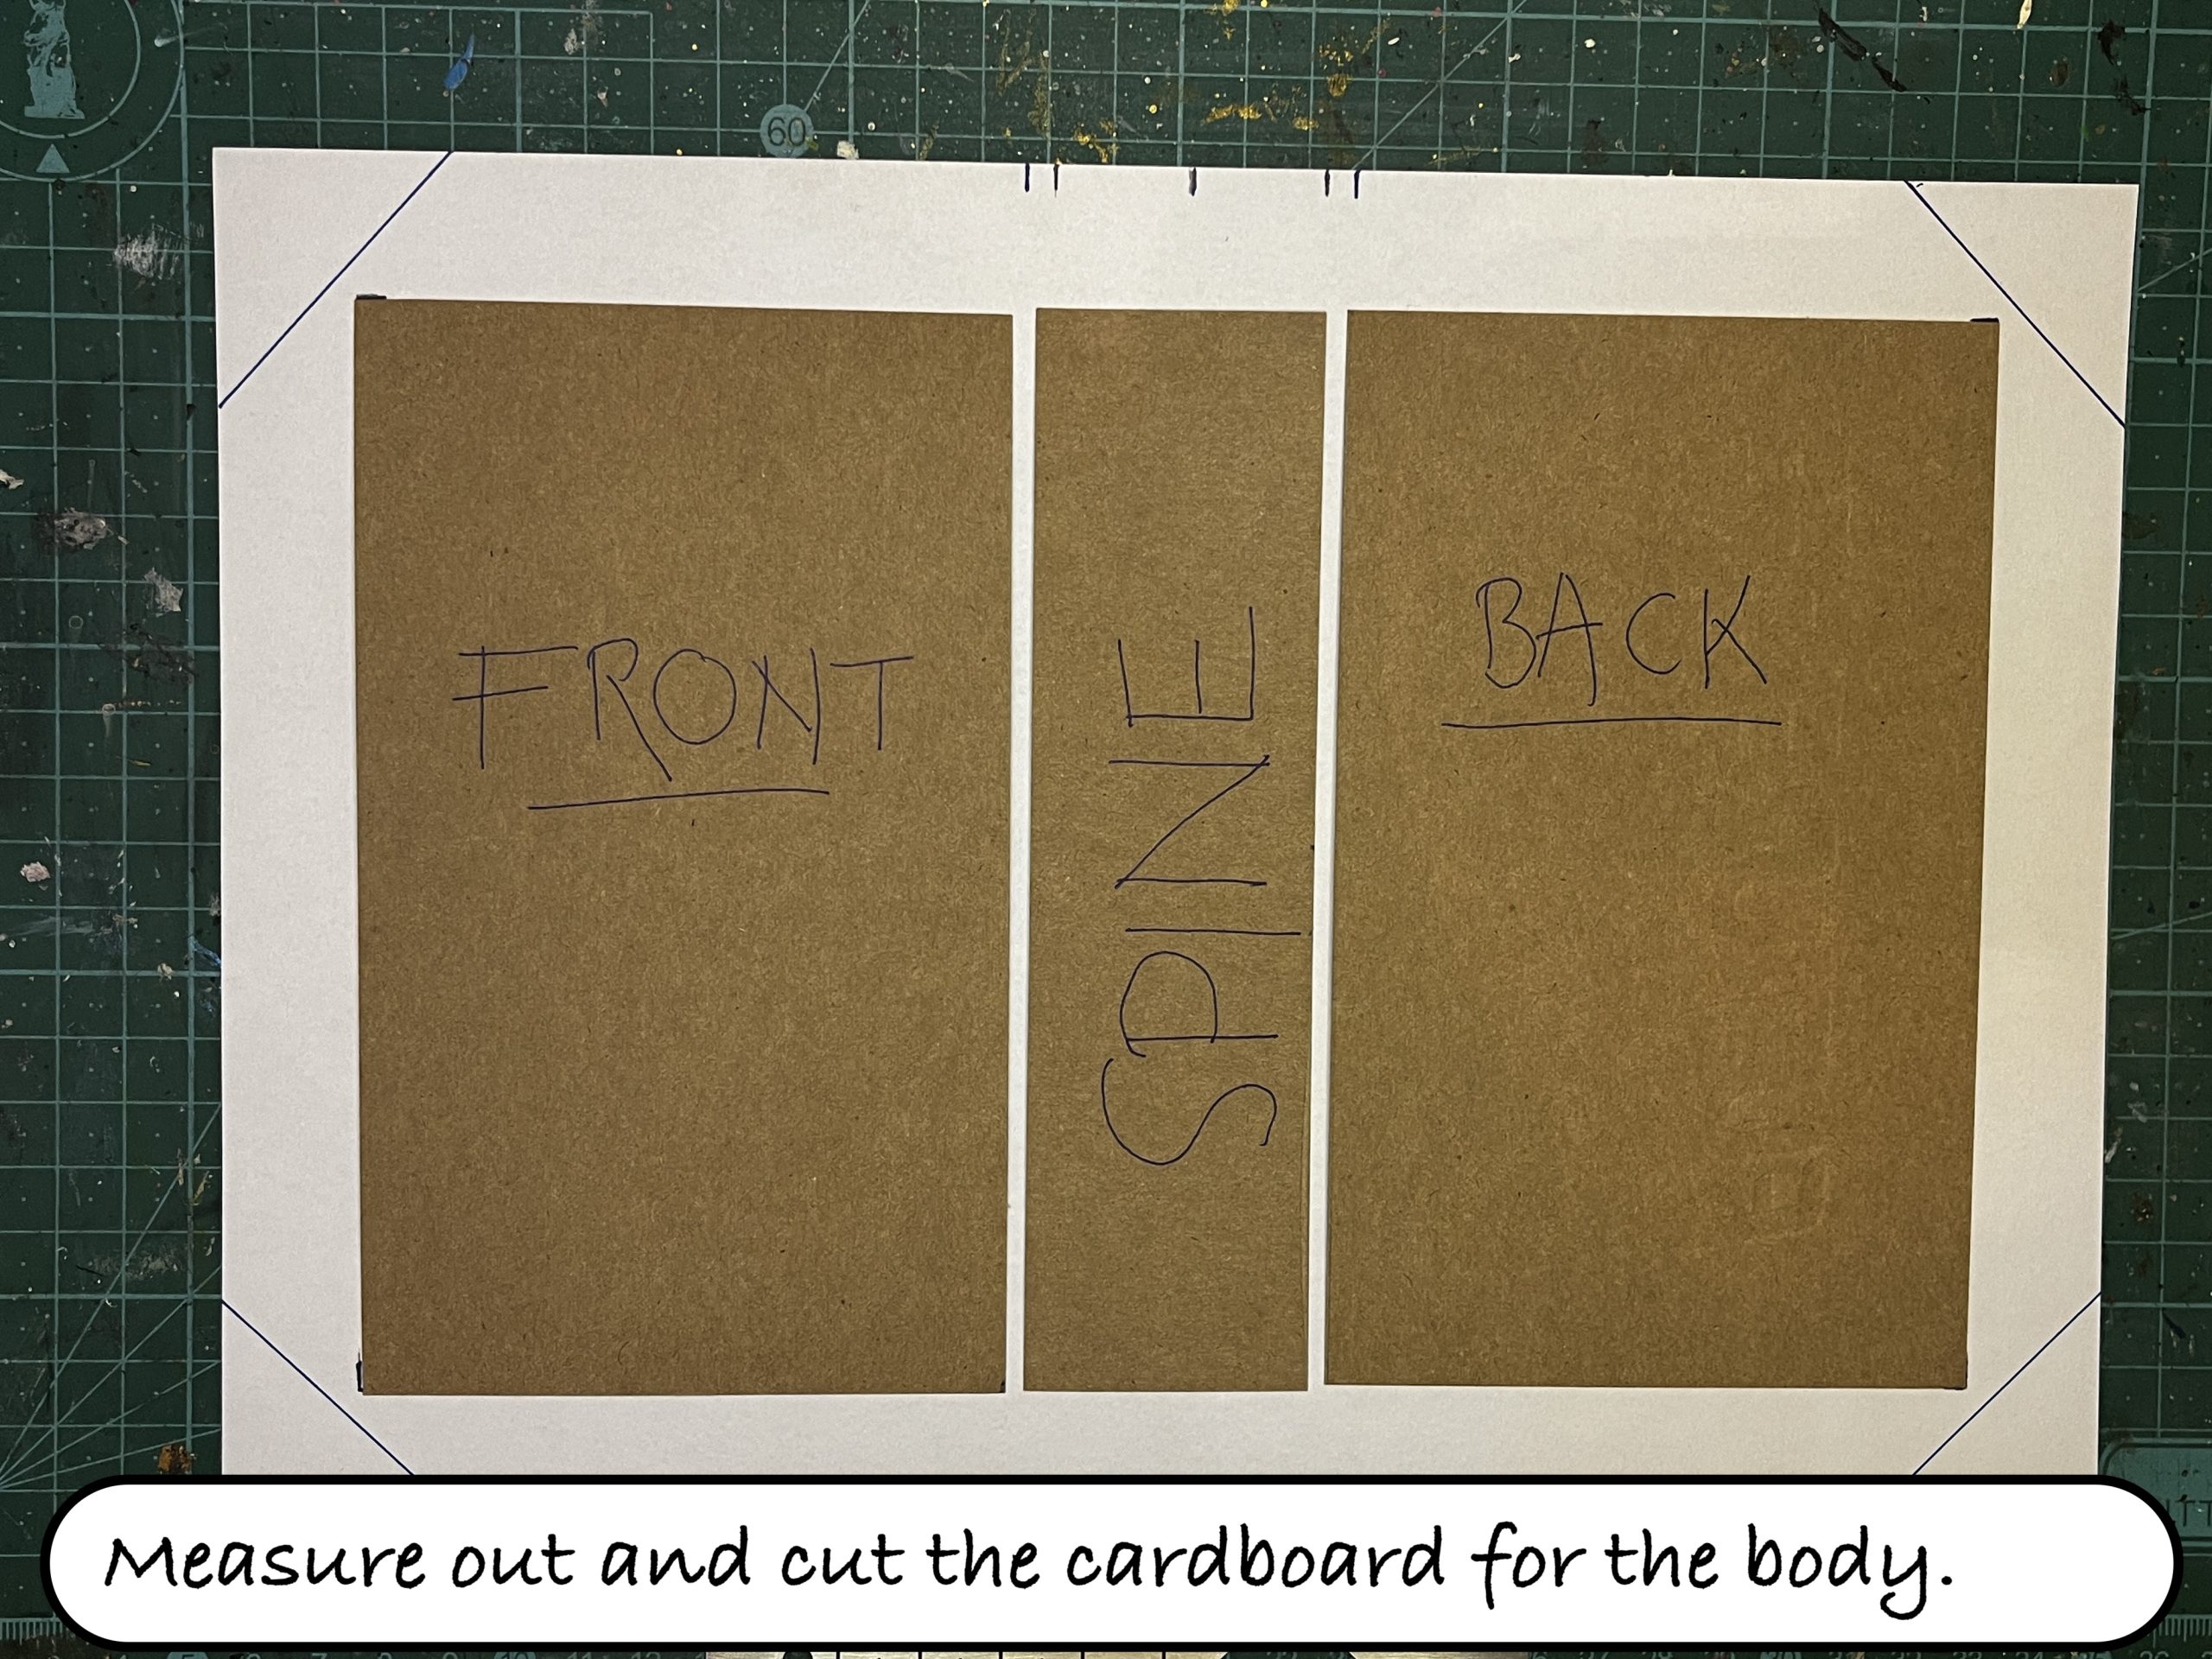
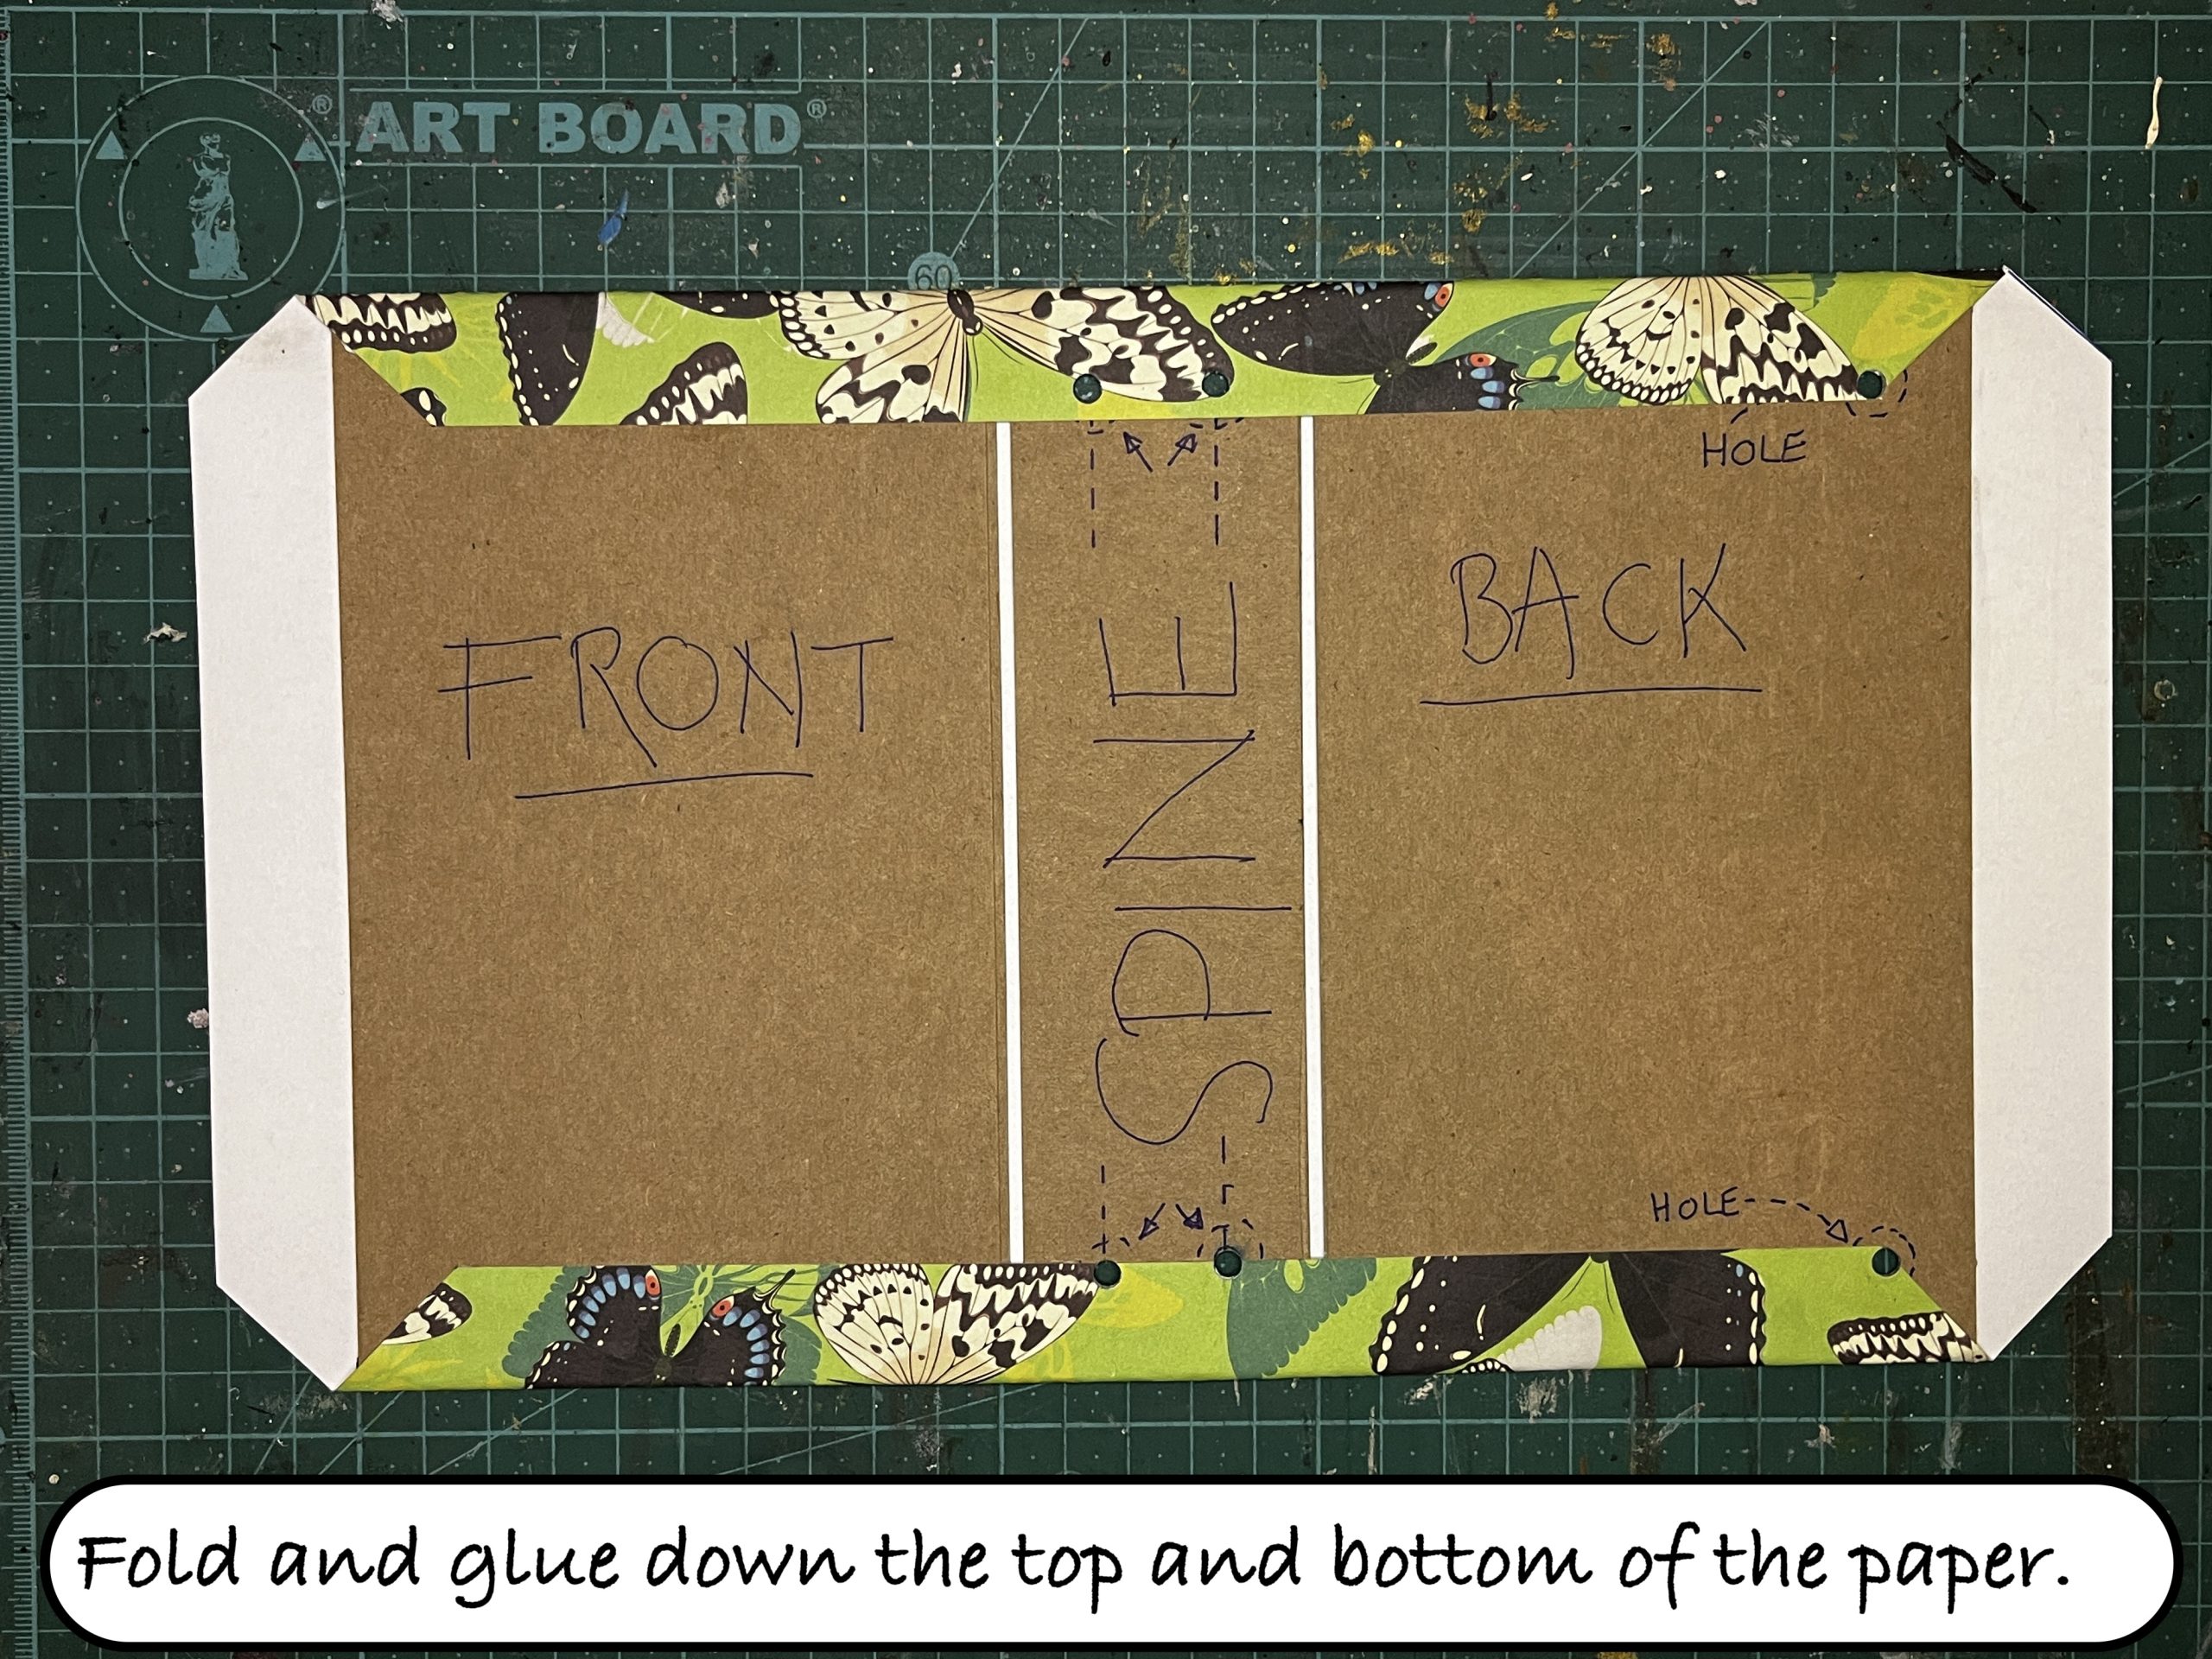
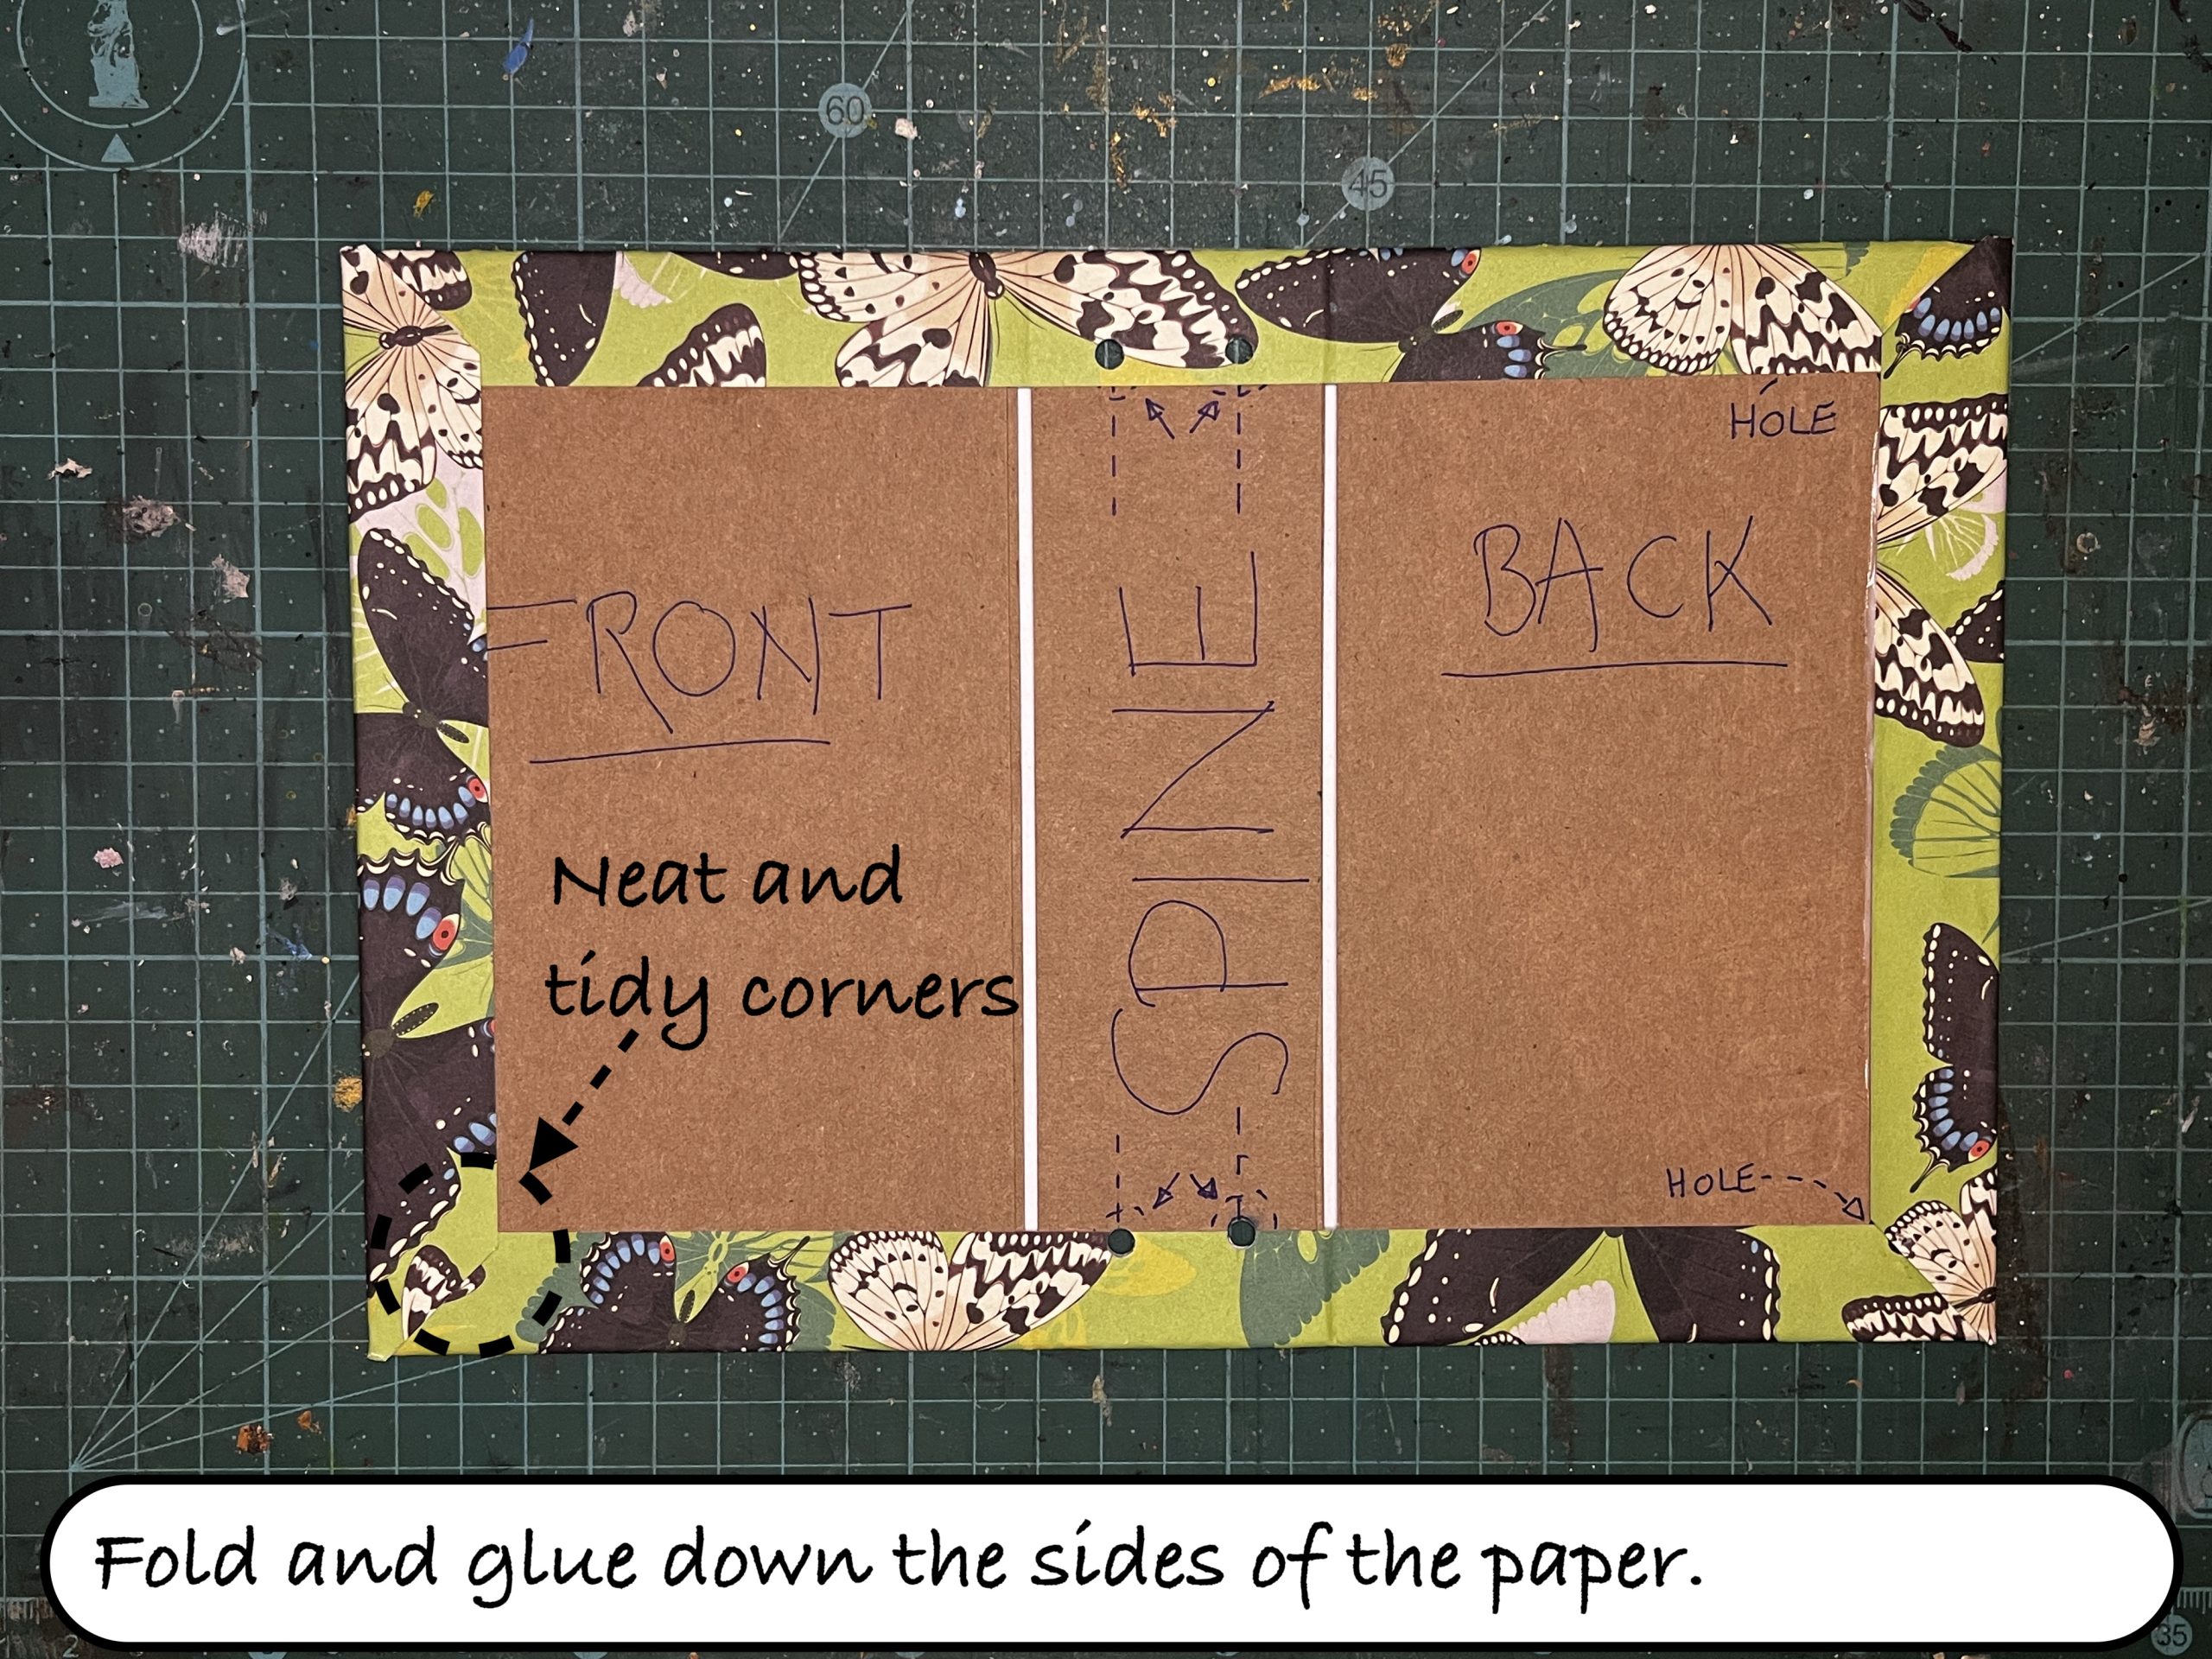
- Cardstock or Chipboard: This will be used for the journal cover to provide durability.
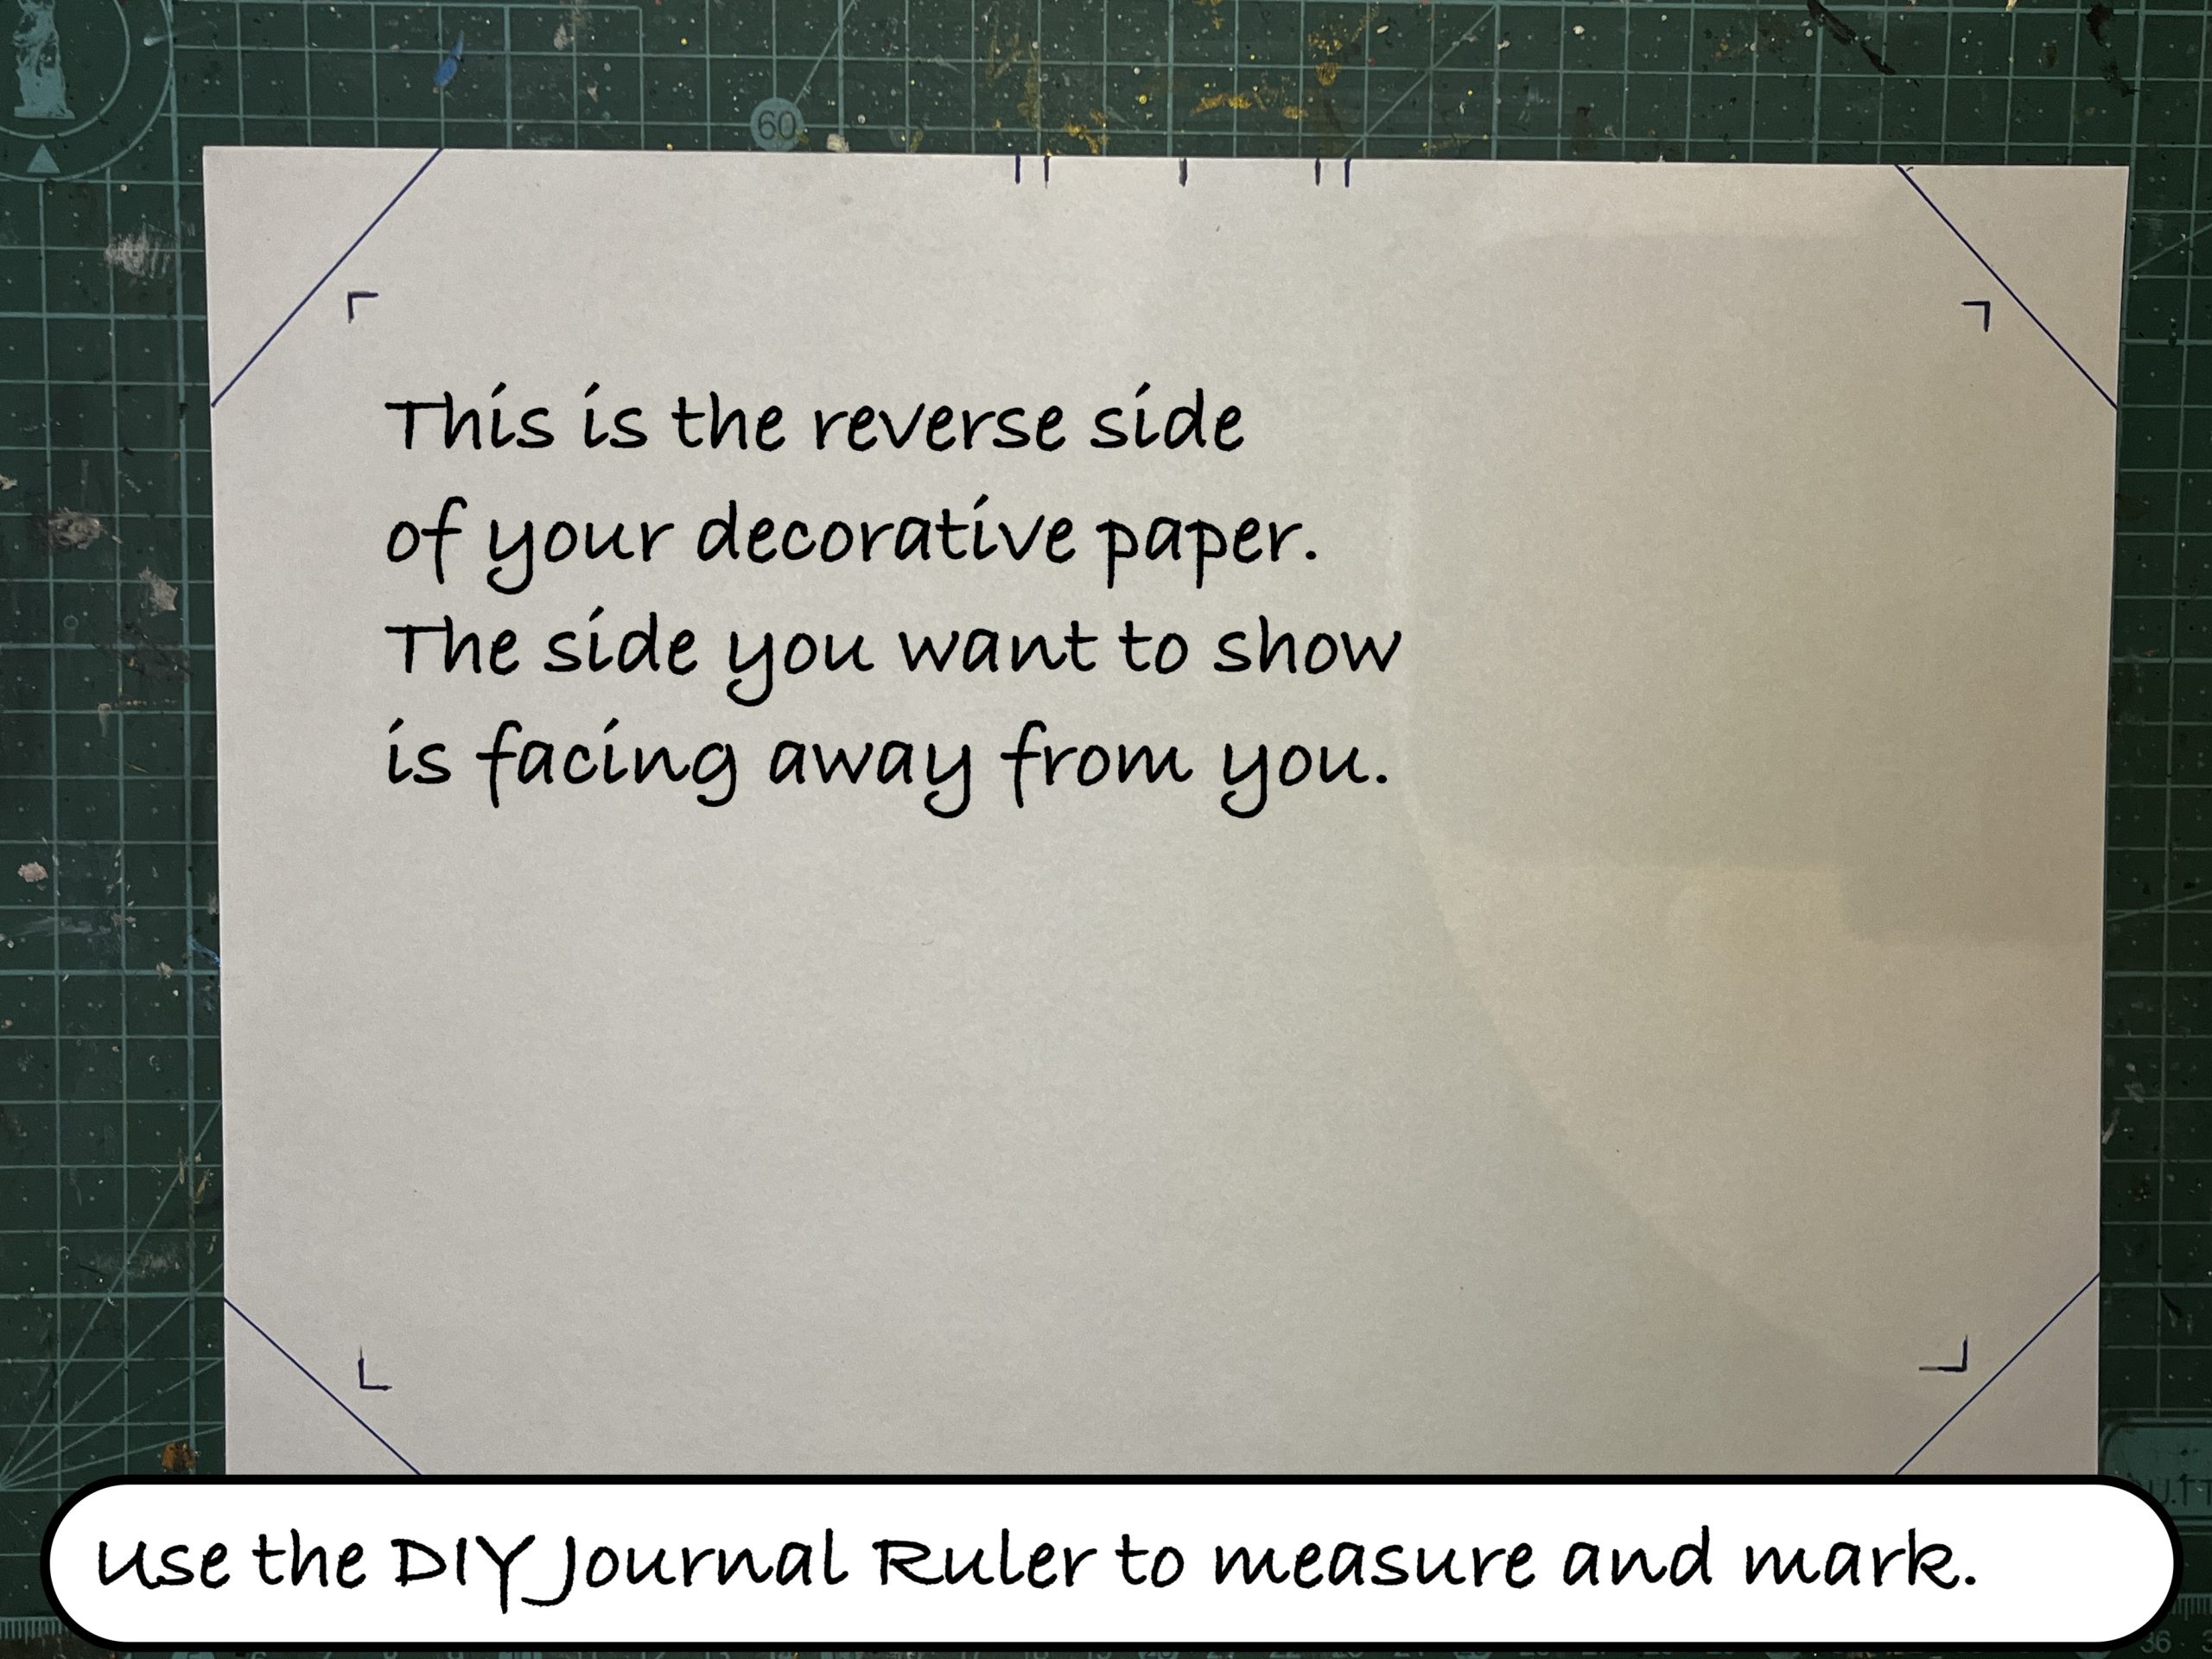
- Decorative Paper: Optional, for covering the journal cover.
- Scissors or Craft Knife: For cutting materials to size.
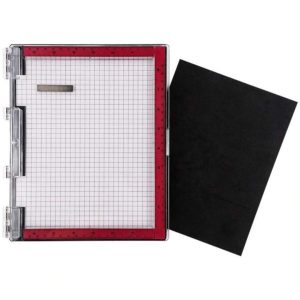
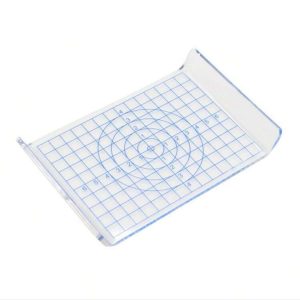
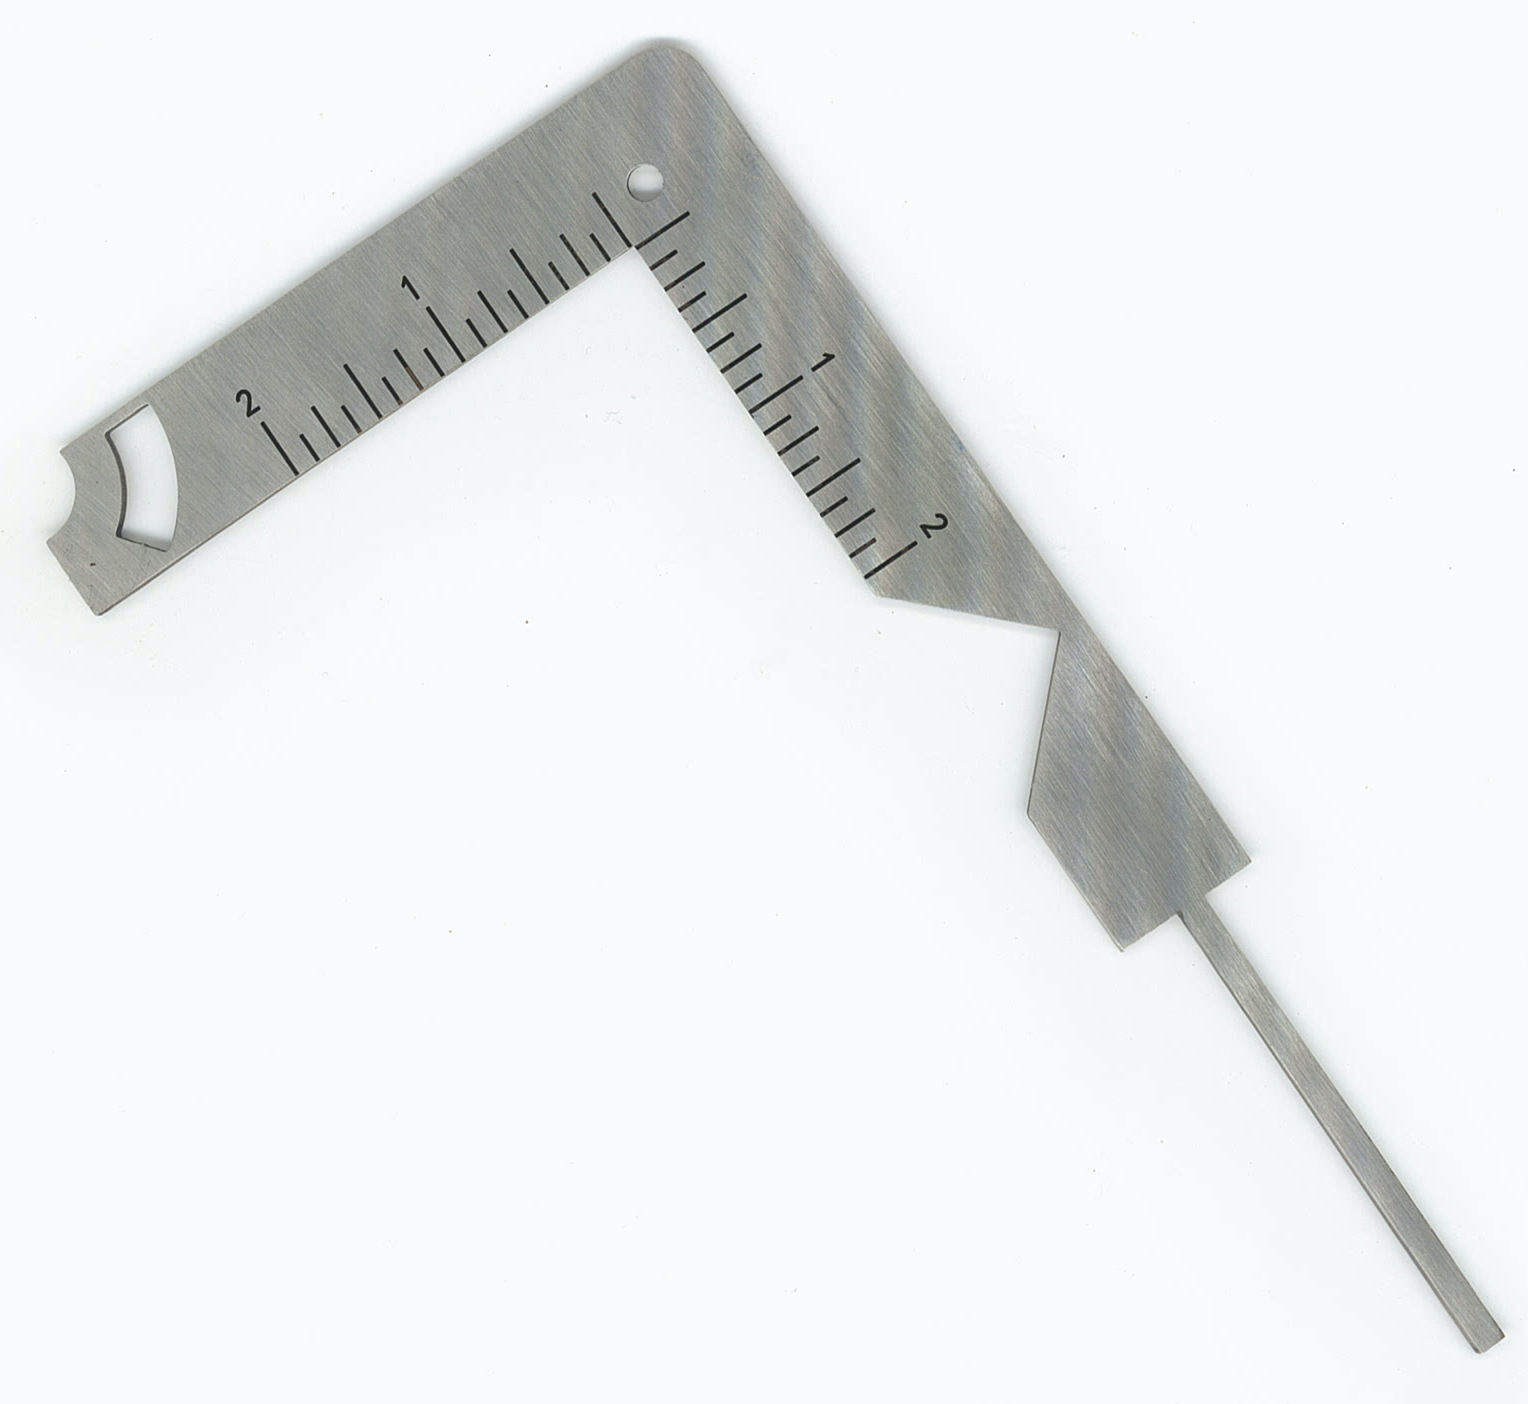
- The DIY Journal Ruler: To measure and cut lines.
- Binding Material: You can use binding rings, a bookbinding needle and thread, or even glue.
- Hole Punch: To create holes for binding.
- Decorative Elements: Stickers, washi tape, markers, and any other embellishments you want to use to decorate your journal.
Steps:
- Design the Cover:
- Measure and cut your cardstock or chipboard to the desired size for the cover.
- If you wish, cover the cover material with decorative paper. Glue it in place and trim any excess.
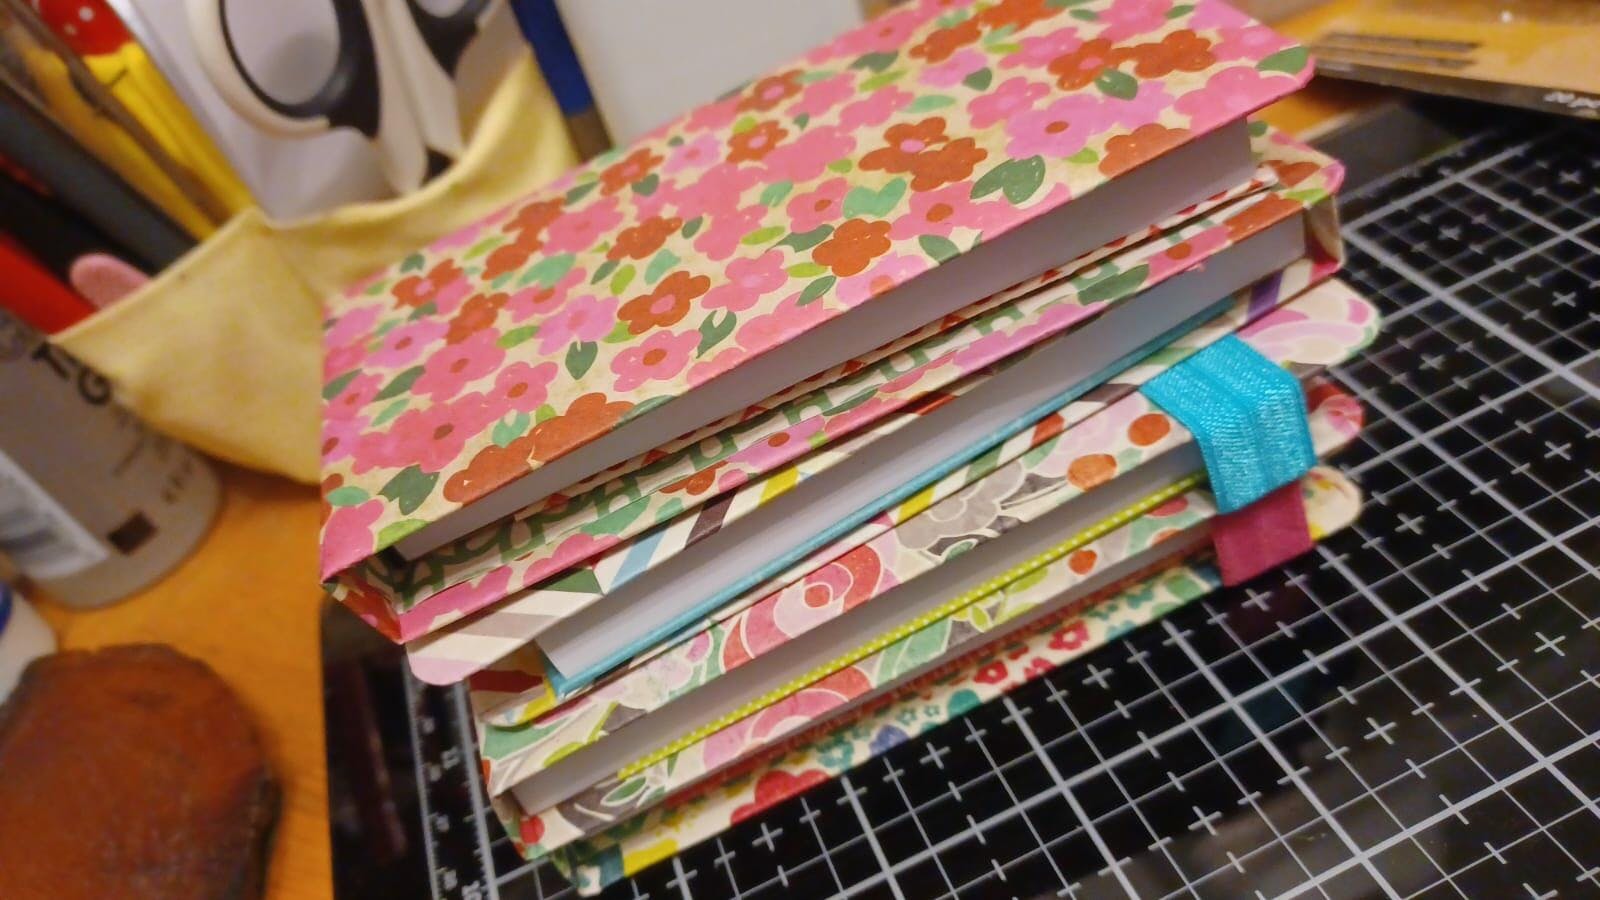
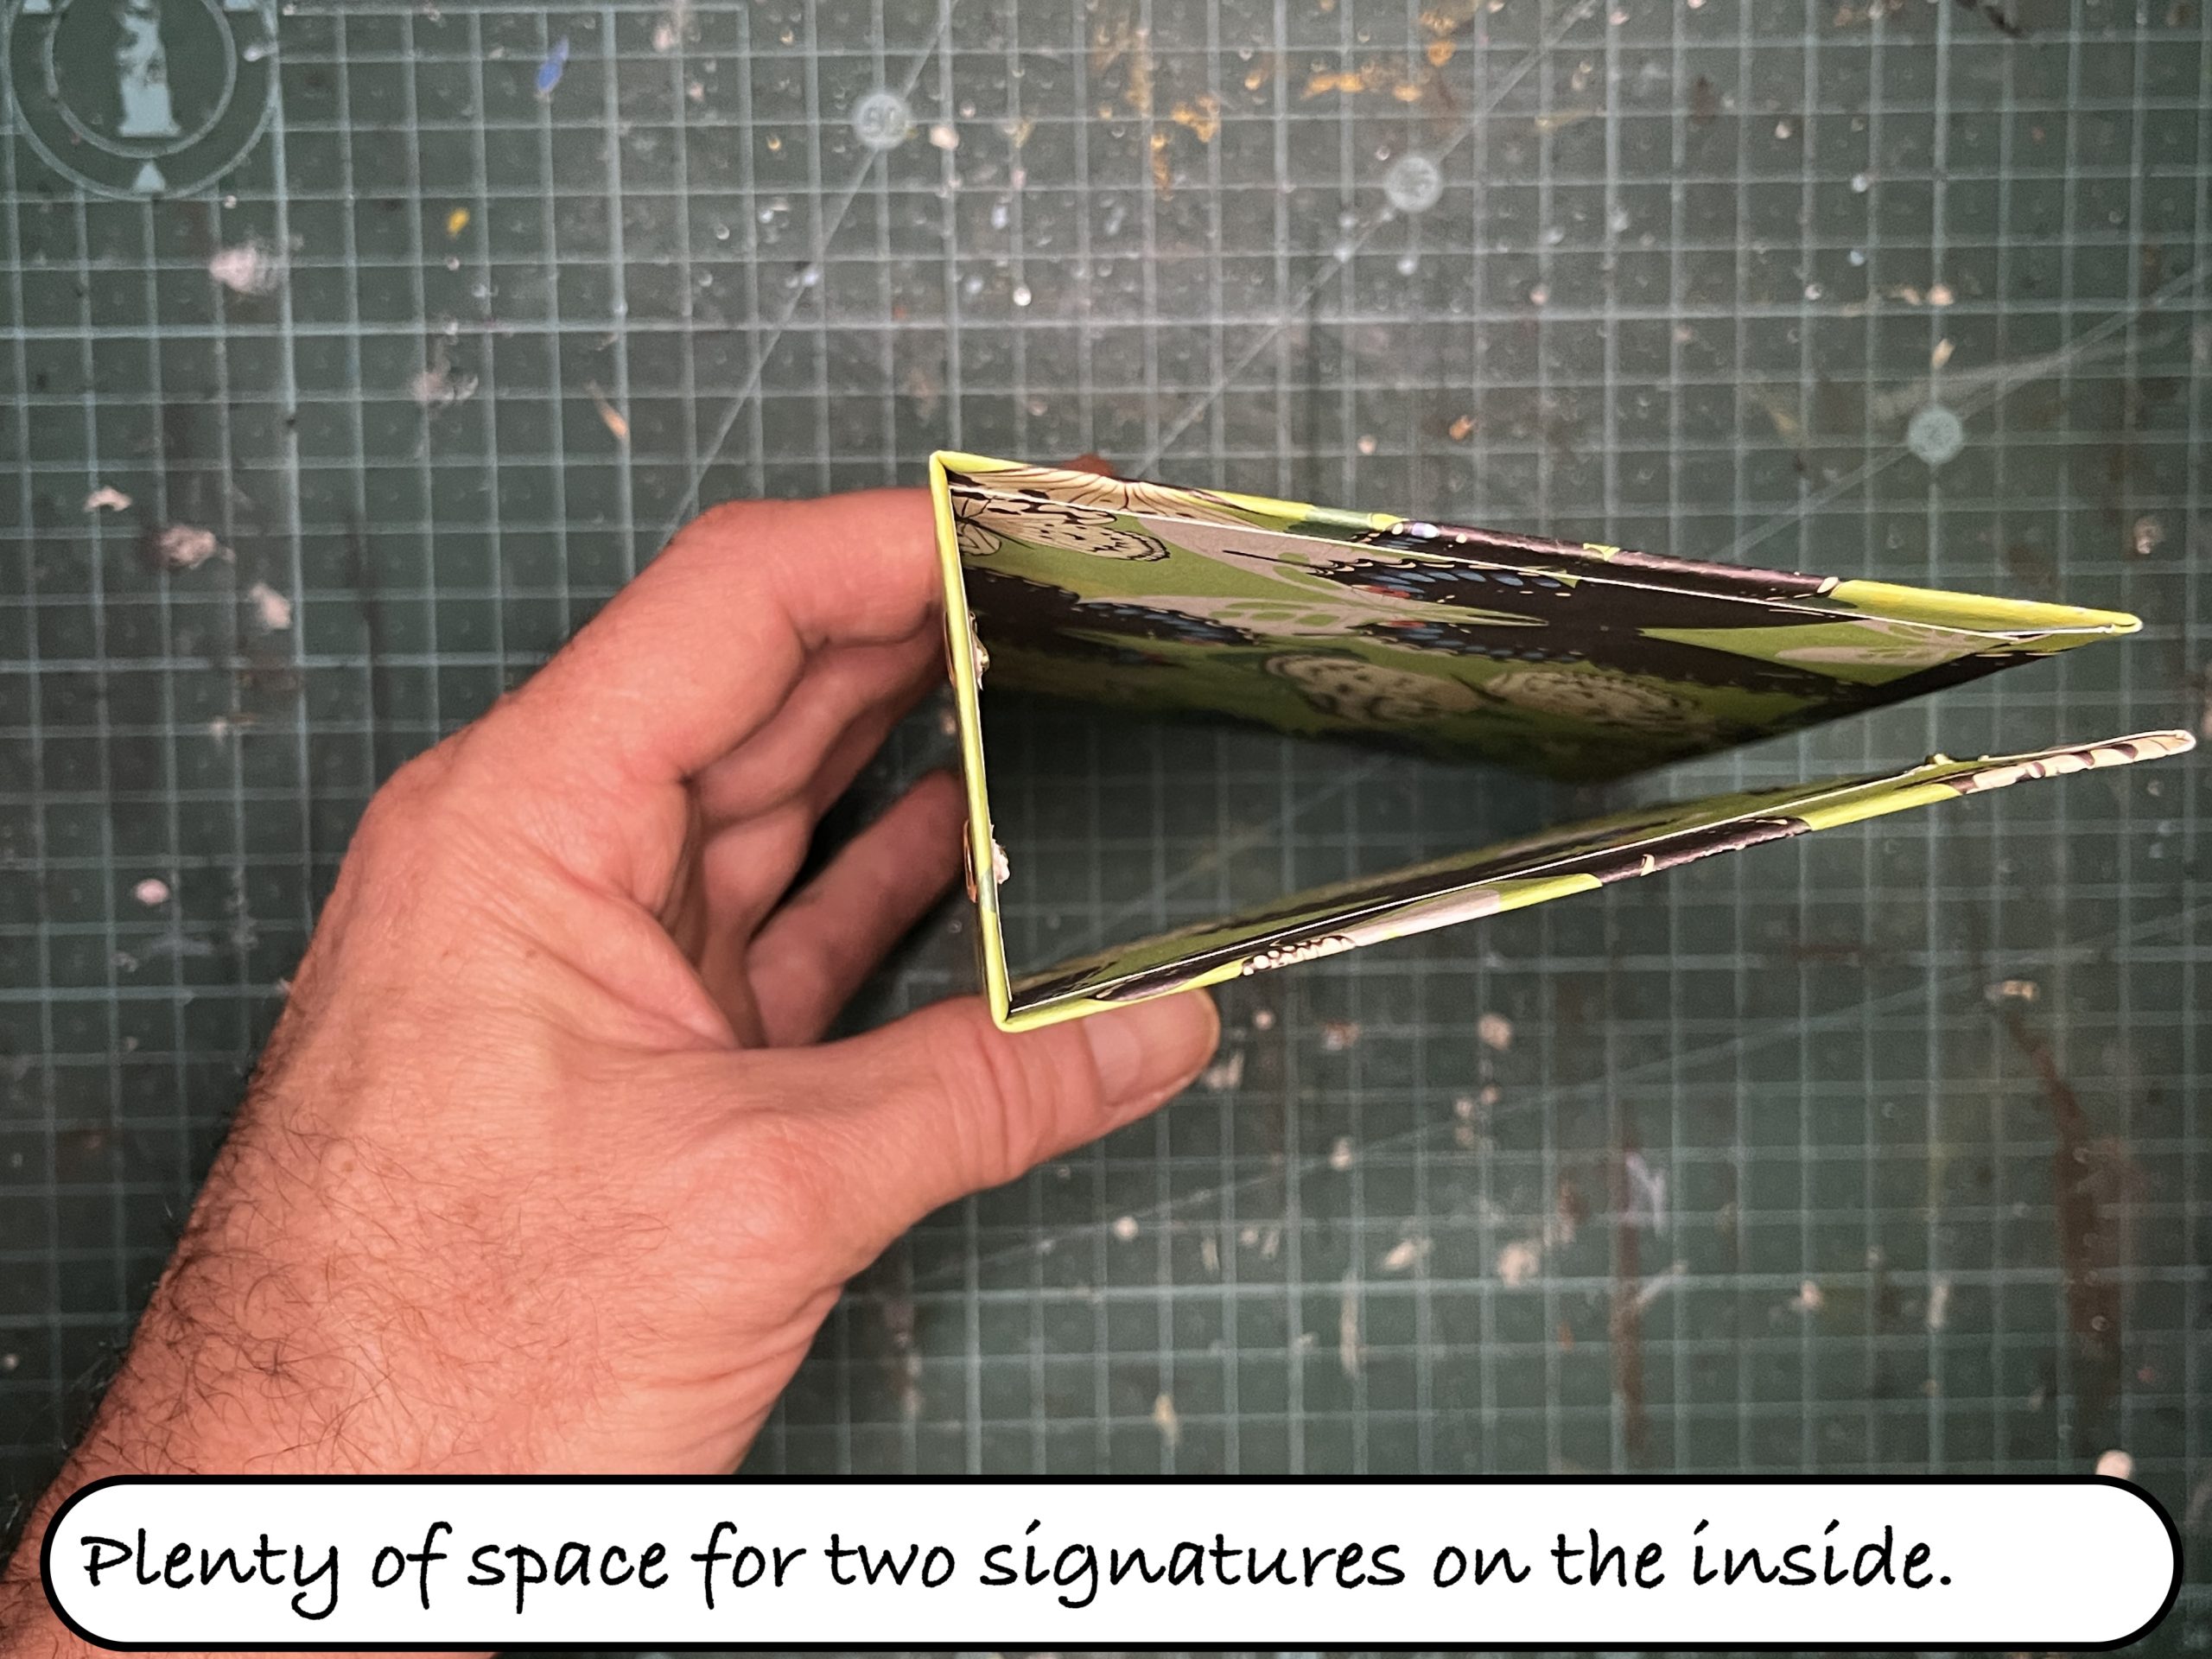
- Create the Journal Pages:
- Cut your blank paper to the same size as your journal cover. You can use lined paper, plain paper, or specialty paper depending on your preferences.
- Stack the paper sheets to create the journal’s pages.
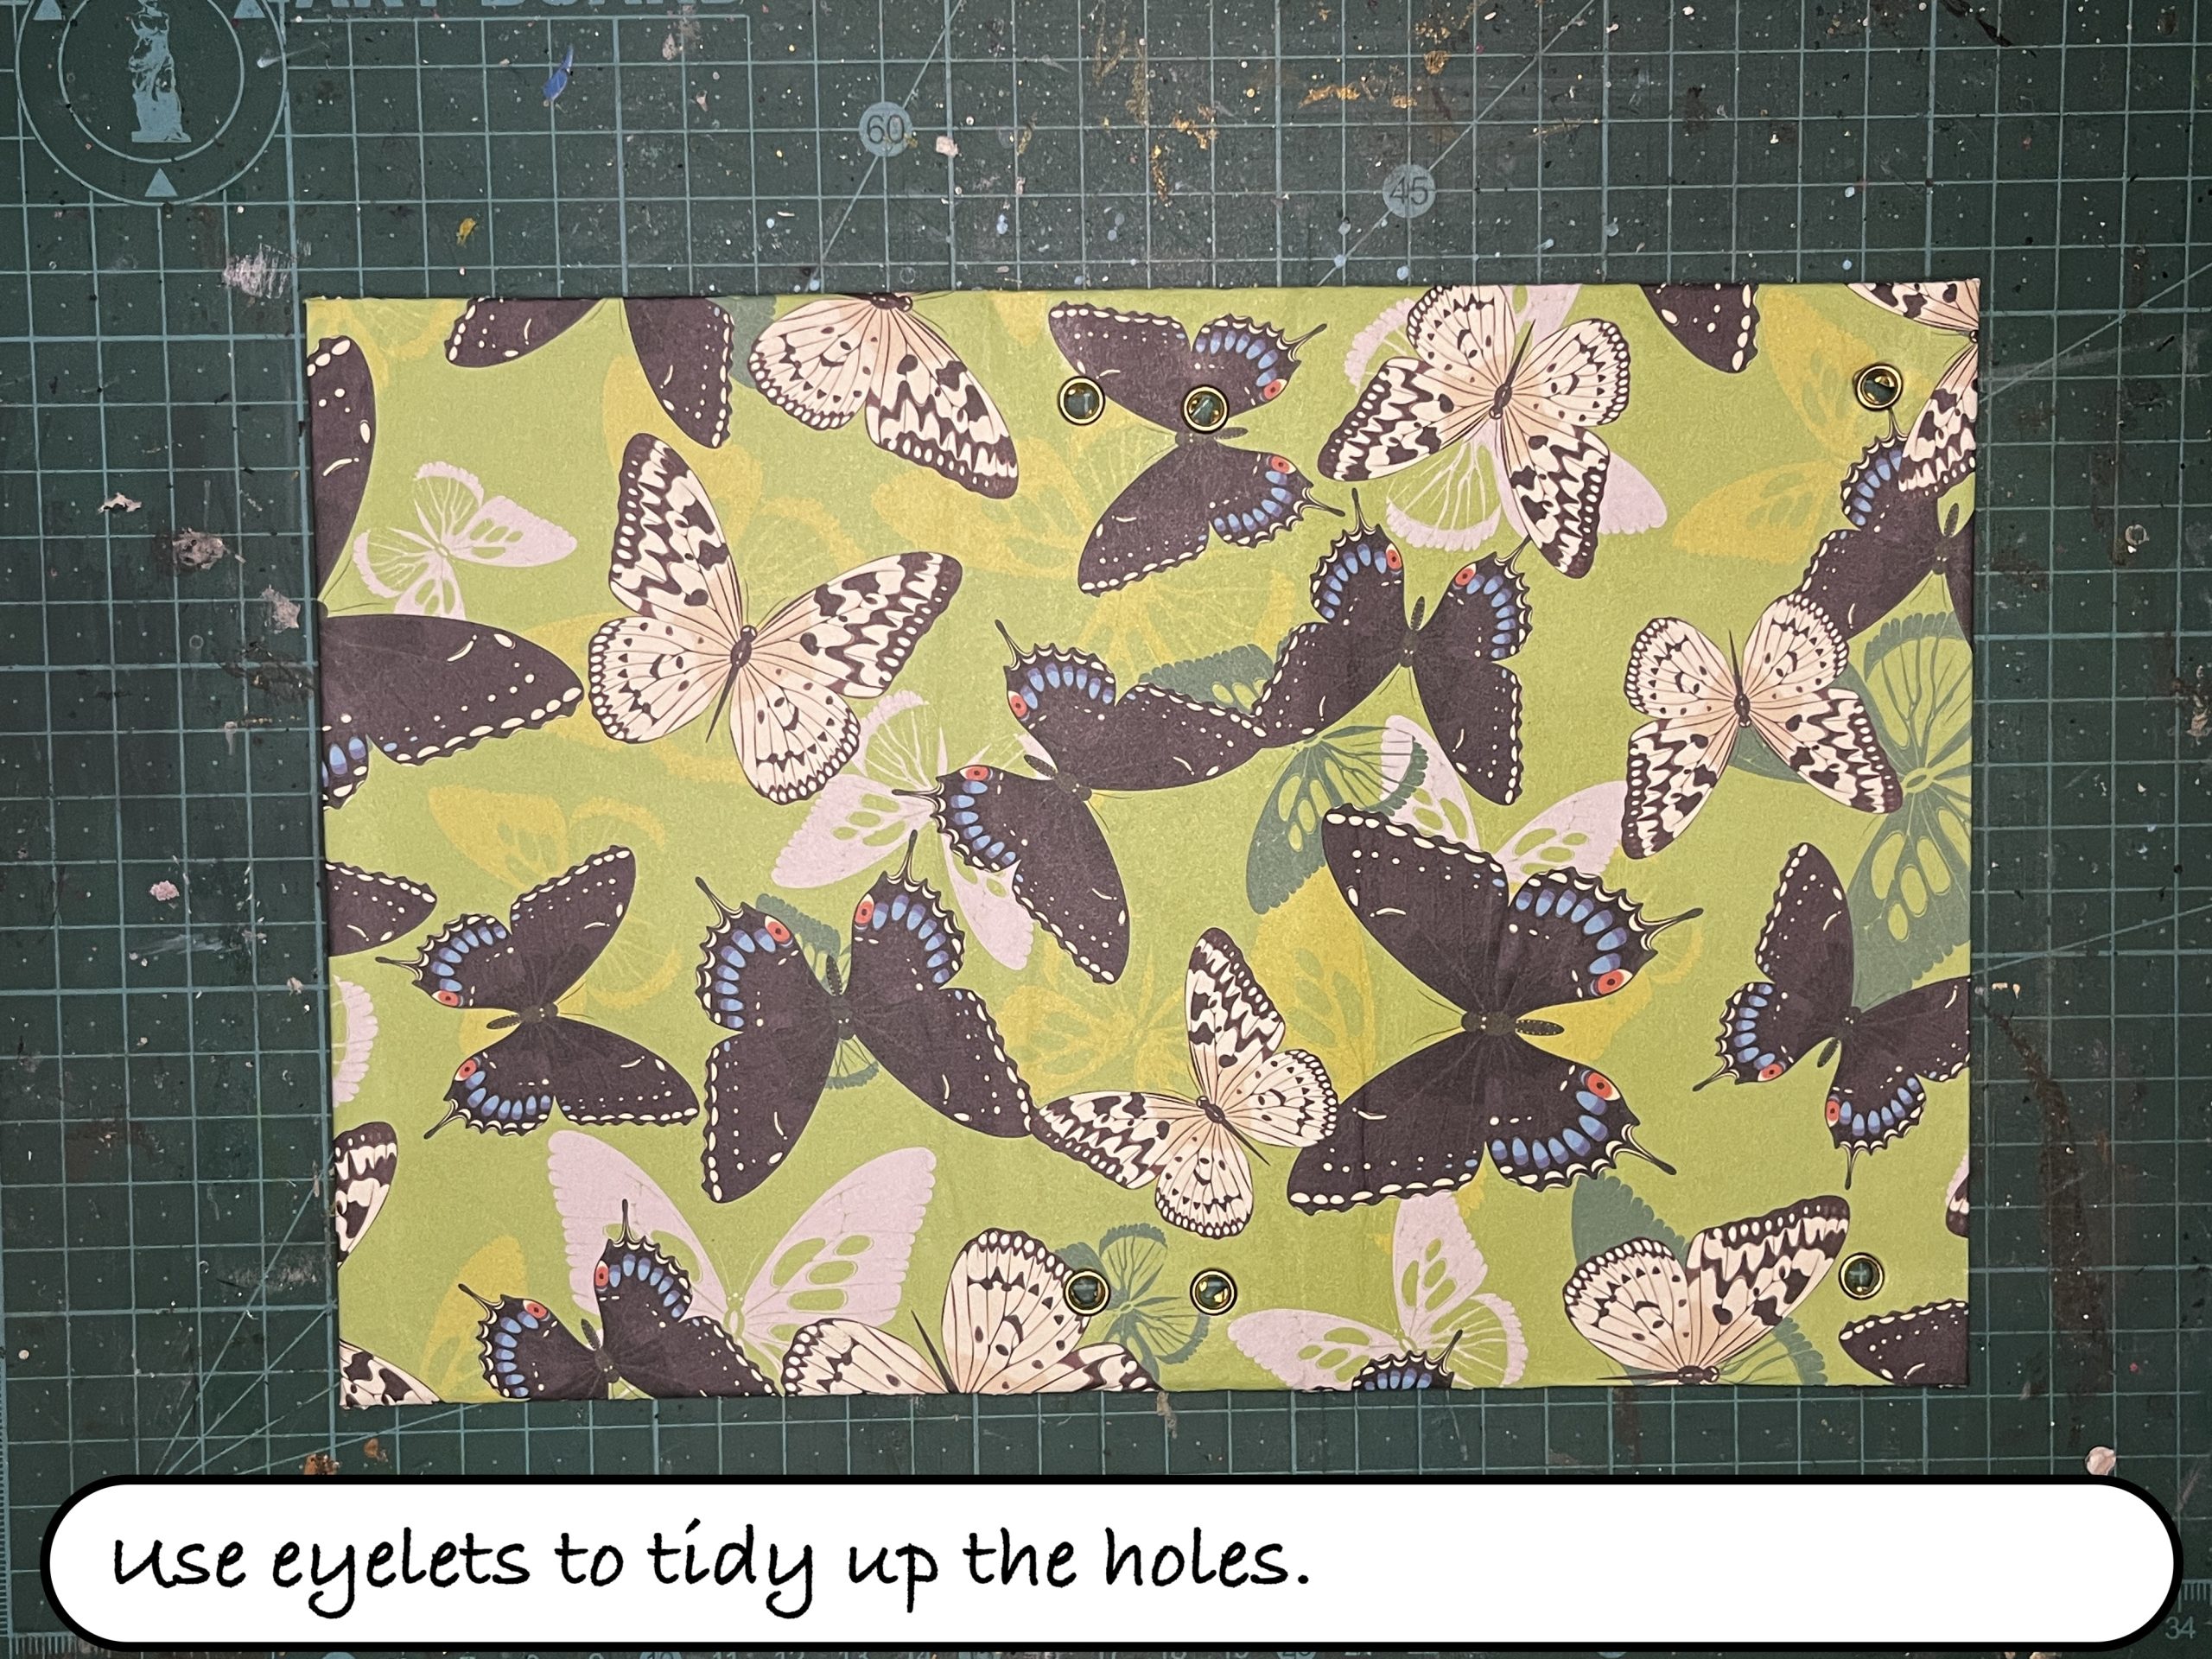
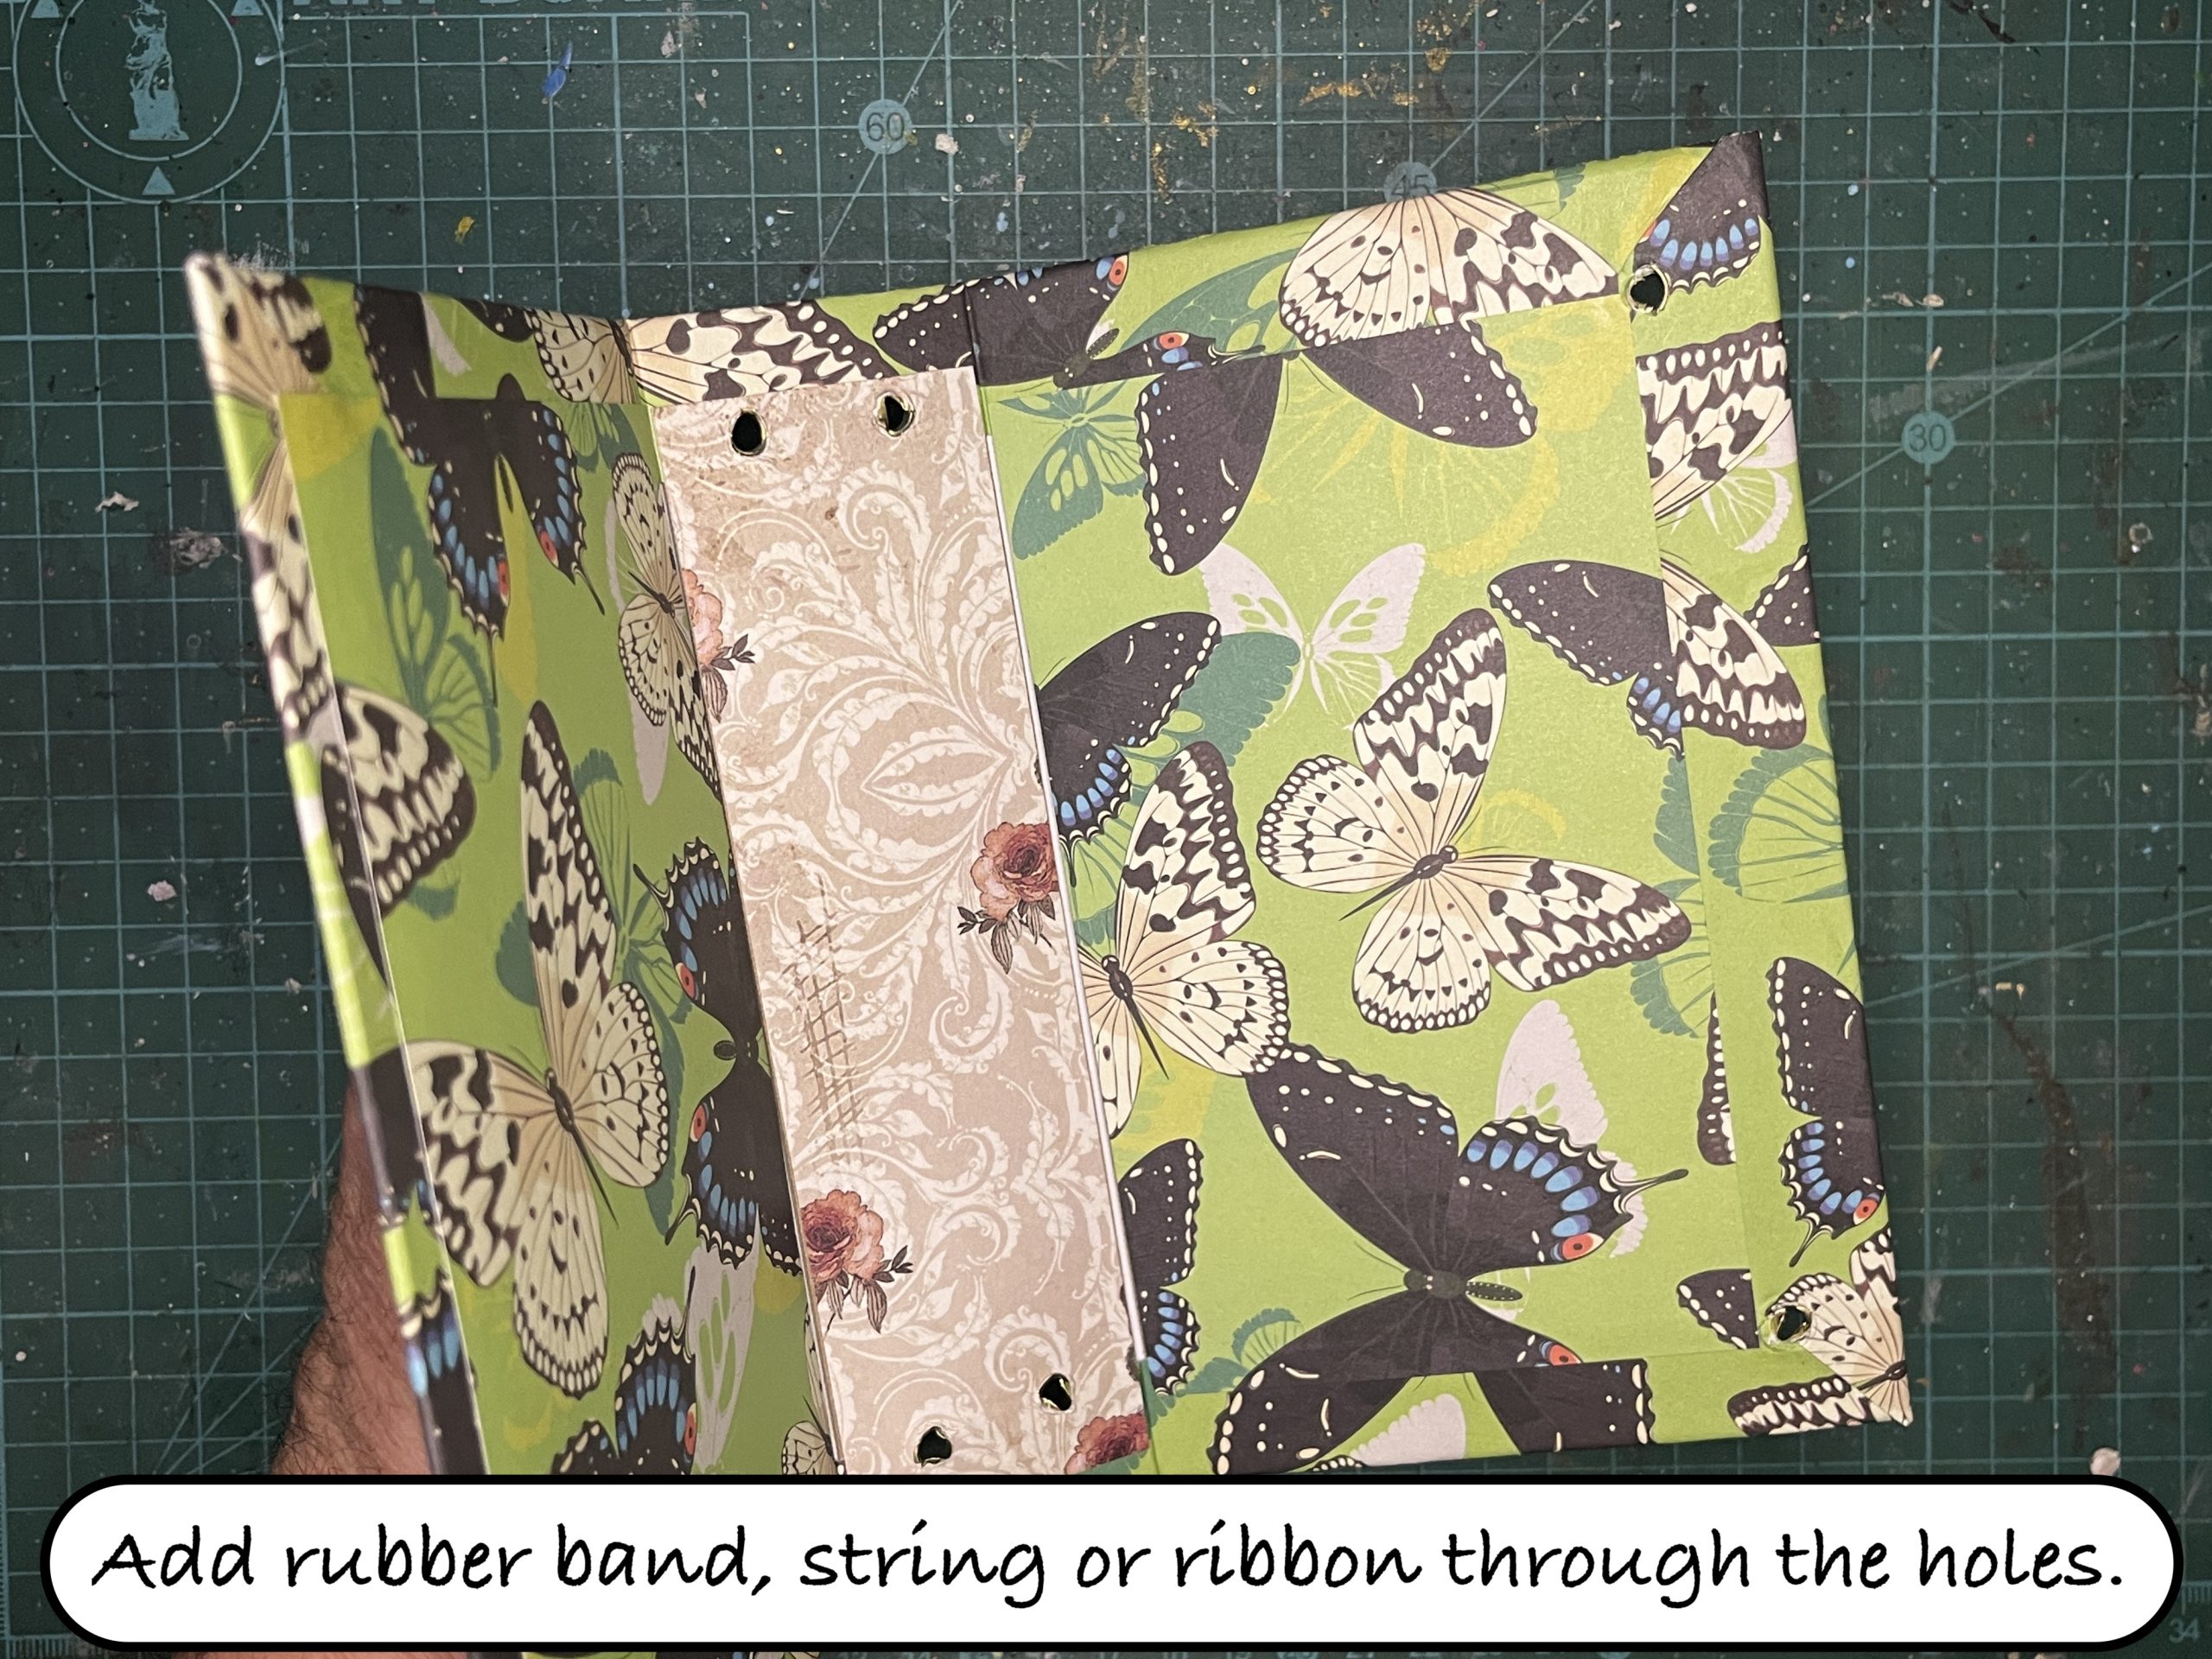
- Punch Holes:
- Determine where you want the holes for binding to be and mark them on both the cover and pages.
- Use a hole punch to create holes in the cover and pages. Make sure the holes align.
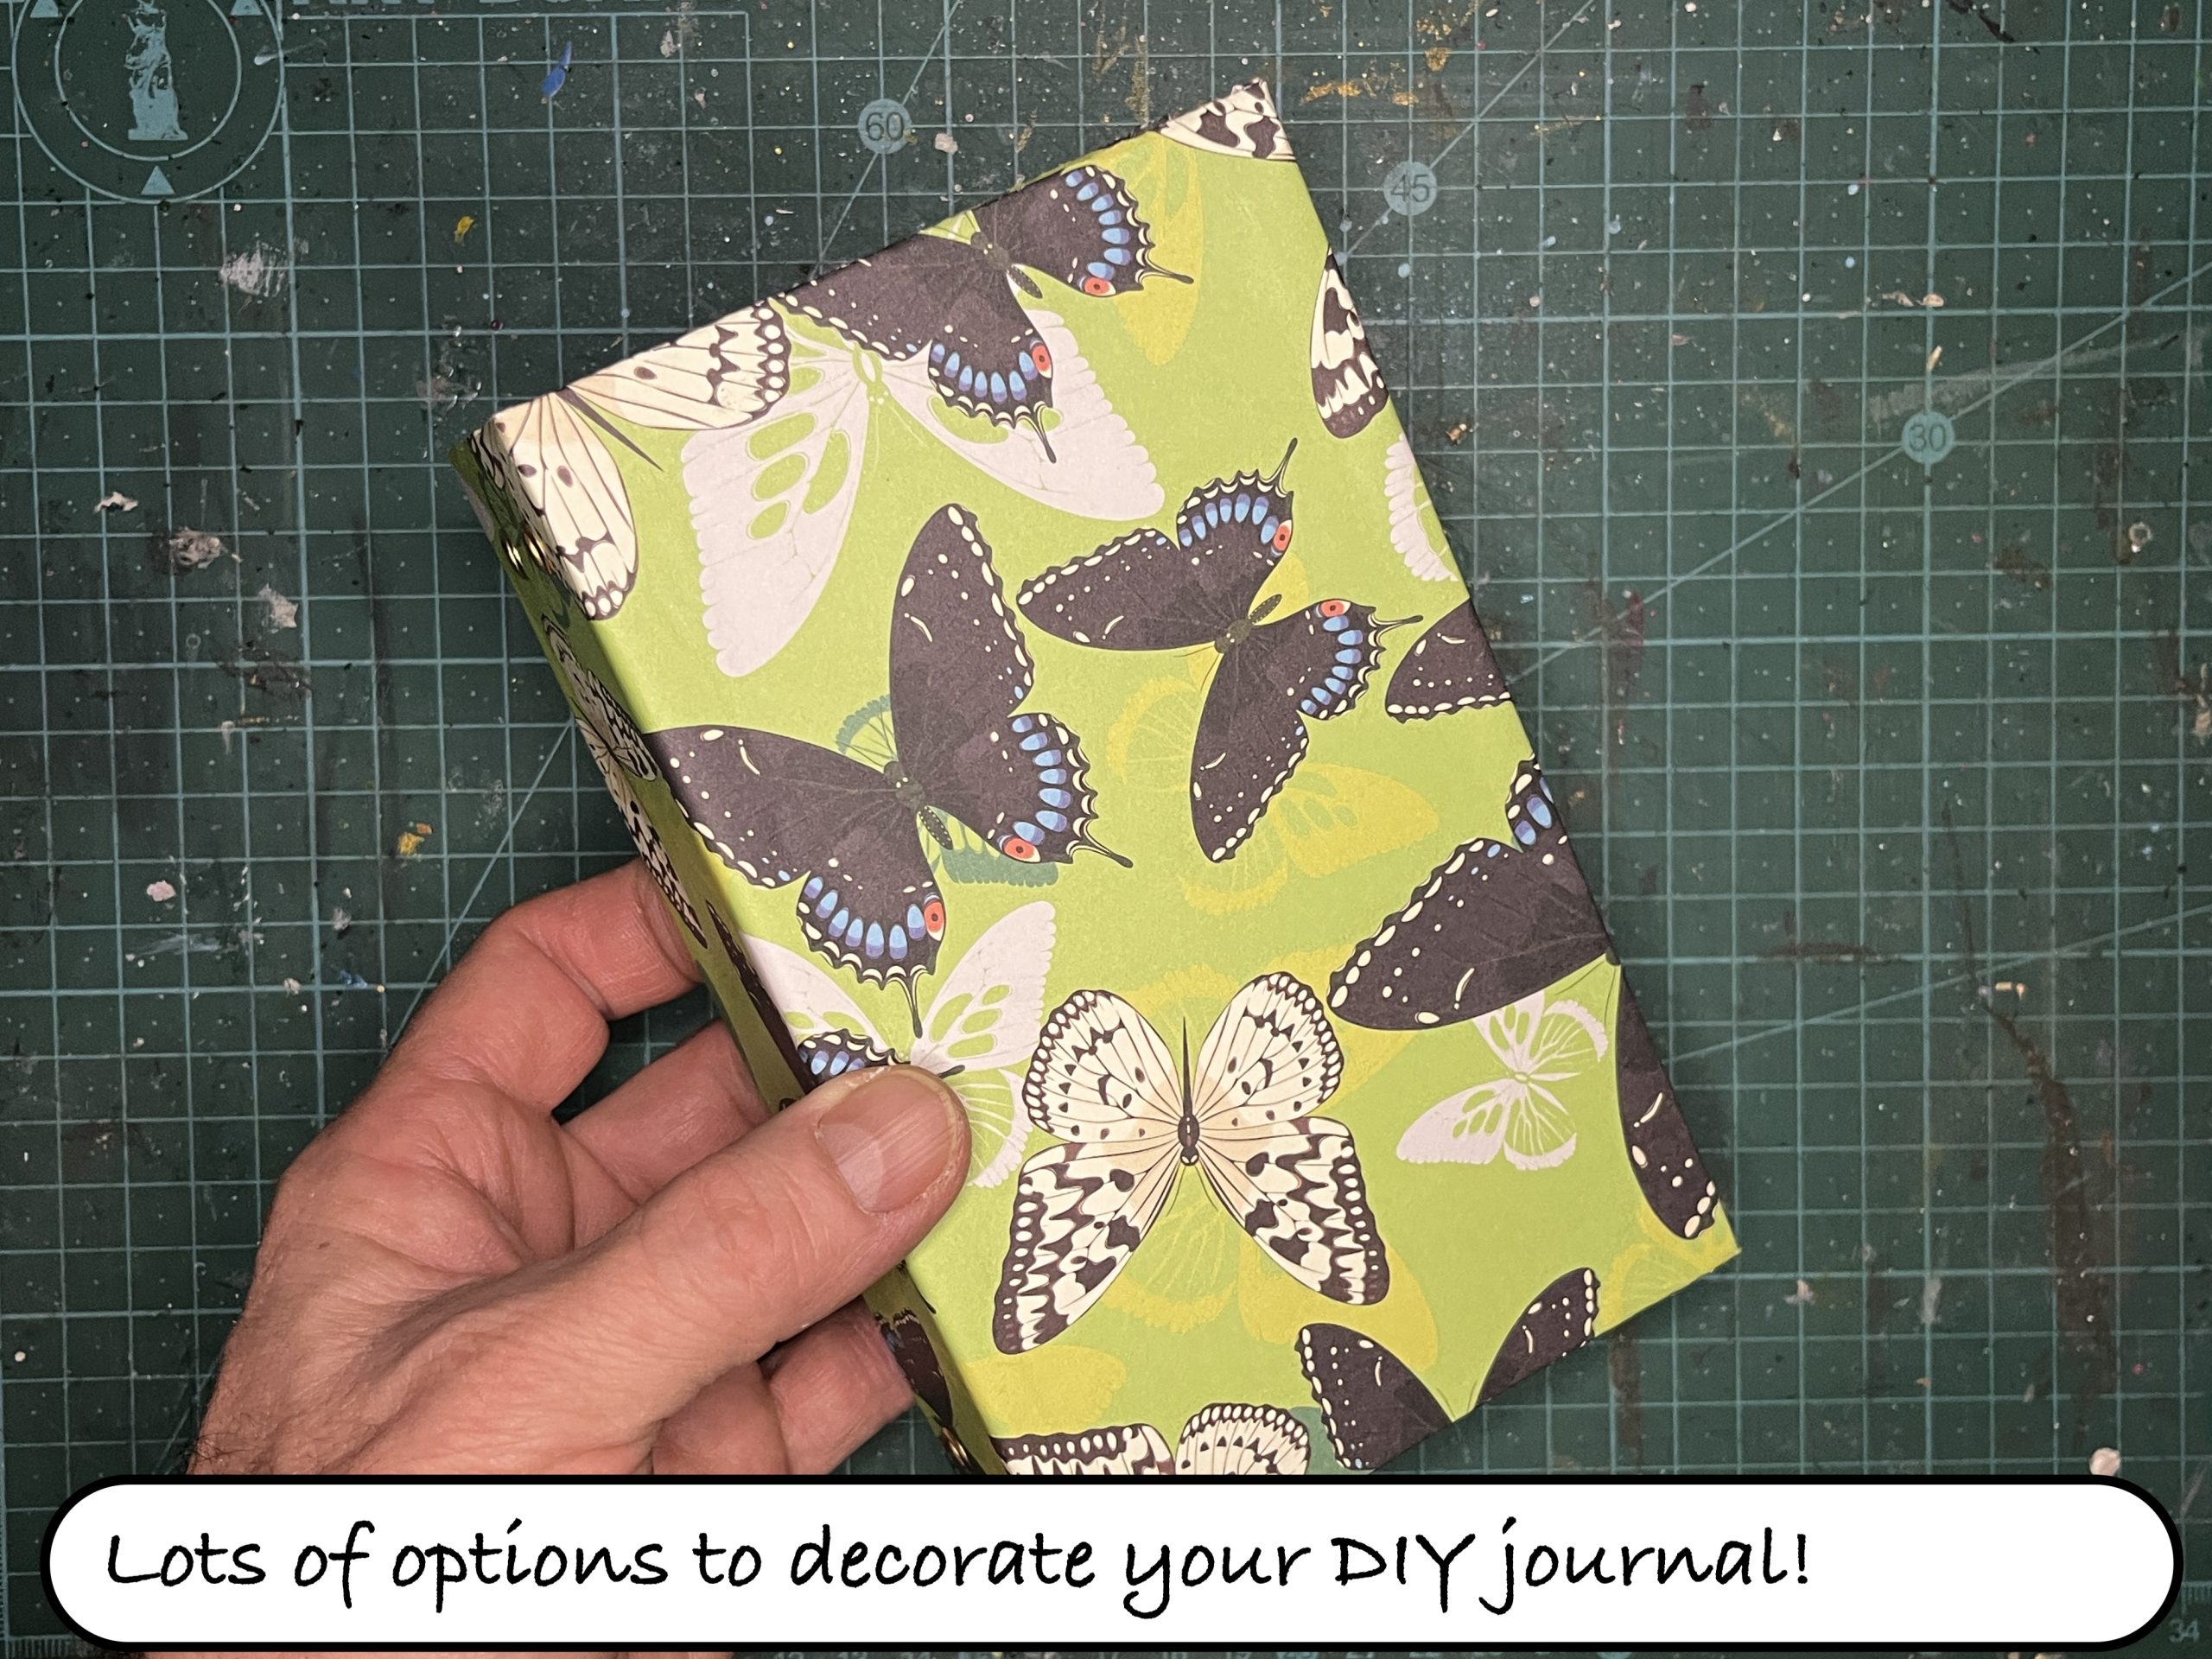
- Decorate the Cover:
- This is where you can get creative. Use stickers, markers, washi tape, or any other decorative elements to personalize the cover. Add your name or any designs that inspire you.
- Bind the Journal:
- You can choose from various binding methods:
- Spiral Binding: Use a spiral binding machine or coil binding to bind your journal.
- Ring Binding: Insert binding rings through the holes you’ve punched.
- Saddle Stitching: Use a bookbinding needle and thread to stitch through the holes, creating a simple stitch binding.
- Glue Binding: Apply a thin layer of bookbinding glue to the spine of the journal pages and press them onto the cover.
- You can choose from various binding methods:
- Allow Time to Dry (if using glue):
- If you’re using glue to bind your journal, allow it to dry completely before using it.
- Personalize the Inside:
- Add any personal touches to the inside pages, like a title page, an index, or sections for different types of entries.
- Start Journaling:
- Your custom journal is now ready to use. Write, draw, or create to your heart’s content!
Remember that making a custom journal is a creative process, so feel free to experiment with different materials, designs, and binding methods to create a journal that’s uniquely your own.